After login you will get the Company Details refer to figure 2.12.
Here you will have to enter all the details of company refer to figure 2.12.
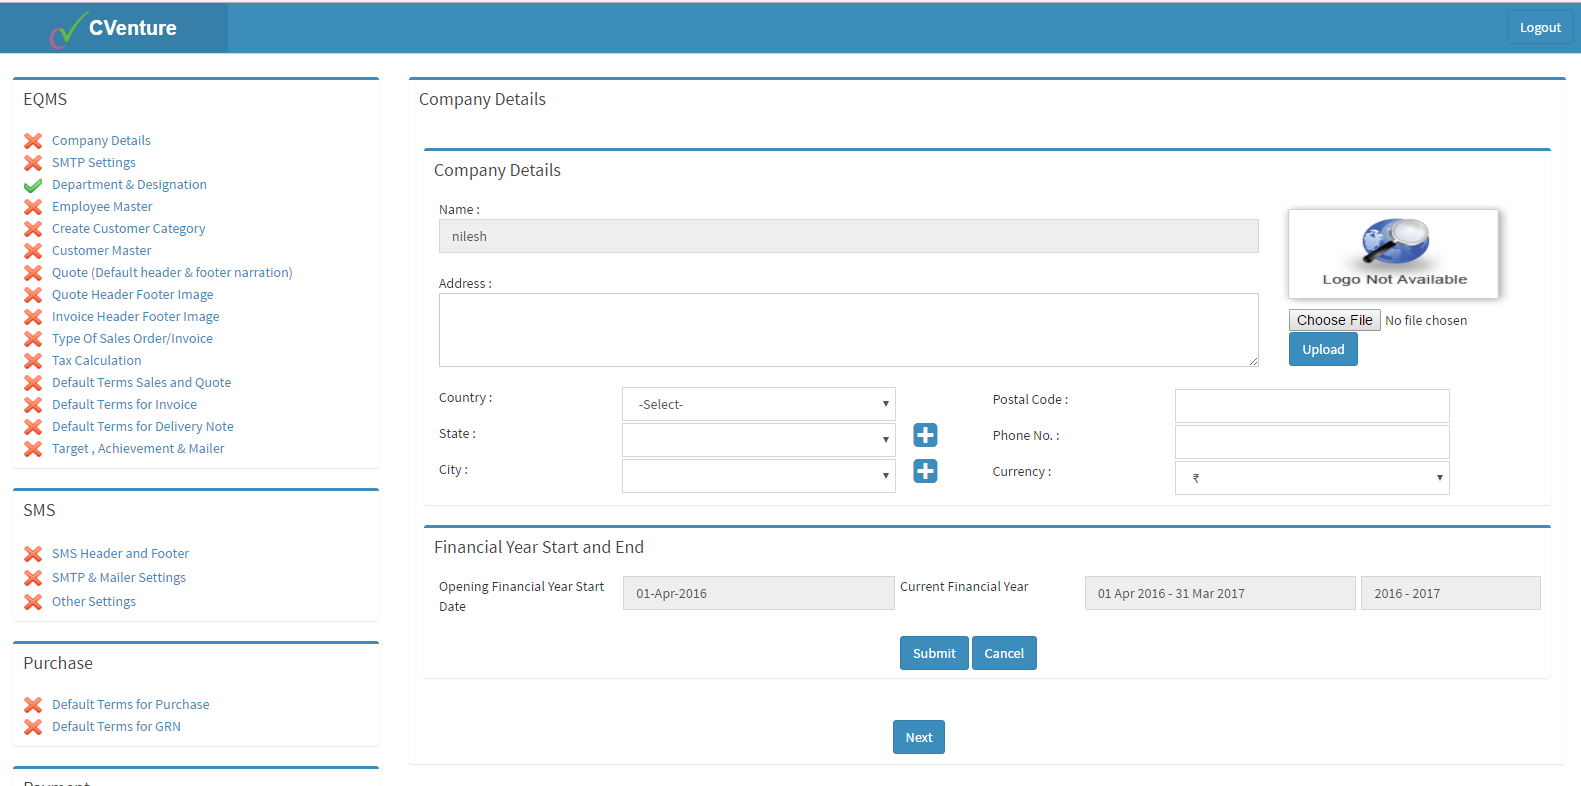
Fig. 2.12
Press submit button to insert all the data refer to figure 2.13
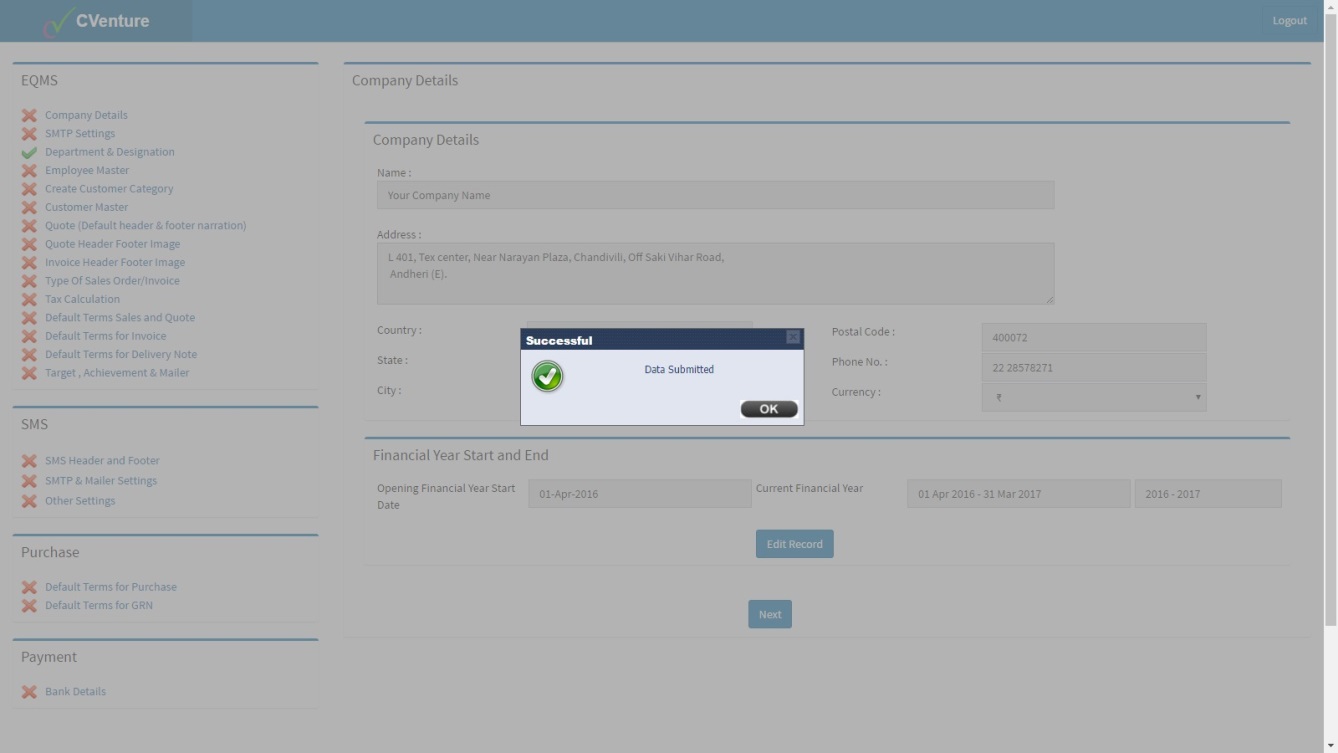
Fig. 2.13
After clicking Submit button you will get Pop Up as Data submitted refer to figure 2.13
Click on OK refer to figure 2.13 and figure 2.14
Fig. 2.14
Click Next. You will get the SMTP Settings page. Enter the SMTP details refer to figure 2.15
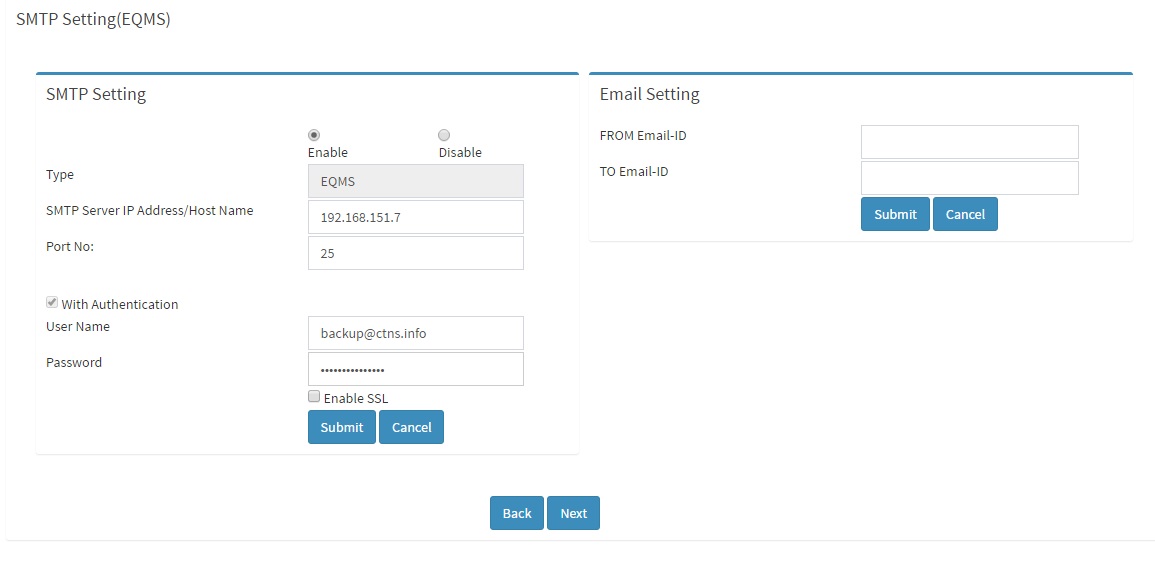
Fig. 2.15
Click on “Submit” your settings will get saved refer to figure 2.16
Go to ‘’Email setting” add the details and Click on Submit button to submit the details refer to figure 2.17

Fig. 2.16
From Email ID is required for Support management system and should be the Email ID from which customers should receive mails for Support. Something like Support@ctns.info . For EQMS all quotes are sent from the email ID of the employee. To Email ID is the email ID which should get the copy of all mails sent via the application refer to figure 2.16 and figure 2.17
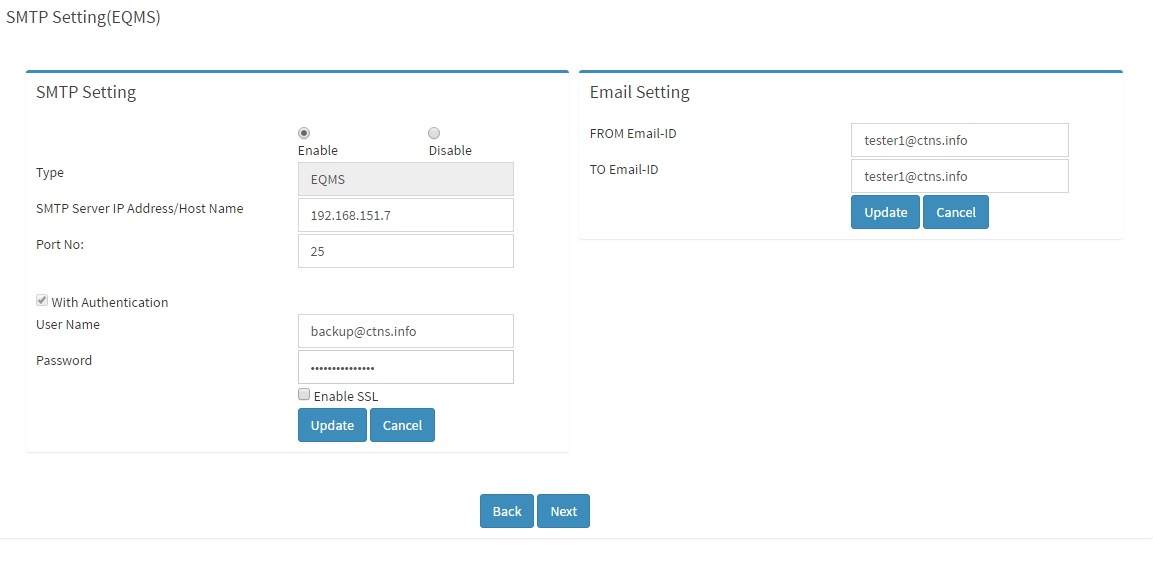
Fig. 2.17
Click Next button you will get Department and Designation module refer to figure 2.18
Here you have to enter Department Name refer to figure 2.18
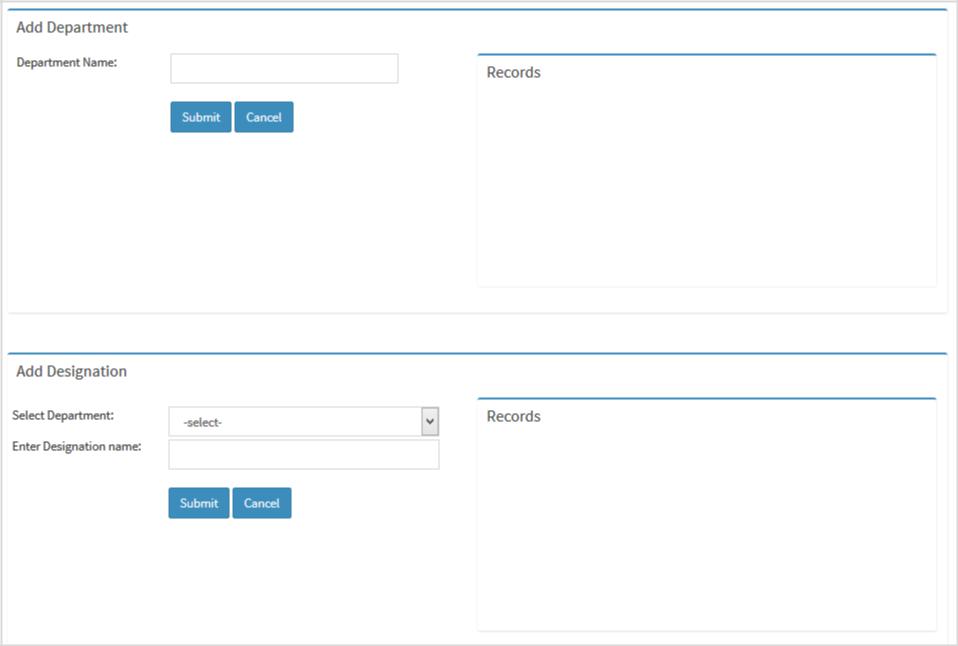
Fig. 2.18
For Example you enter Software refer to figure 2.19
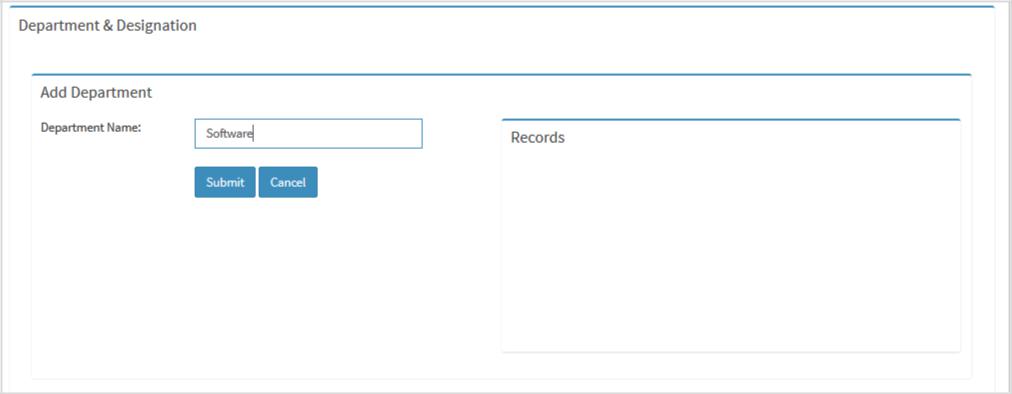
Fig. 2.19
And then click the Submit button then Software will come in the grid at right hand side of the screen refer to figure 2.20
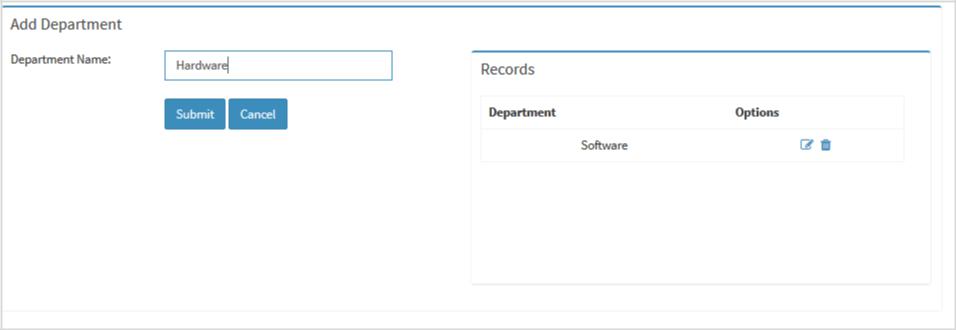
Fig. 2.20
Next you can enter other department name for eg. Administration Department refer to figure 2.20
Now we have to enter designation. So we first select Department refer to figure 2.21
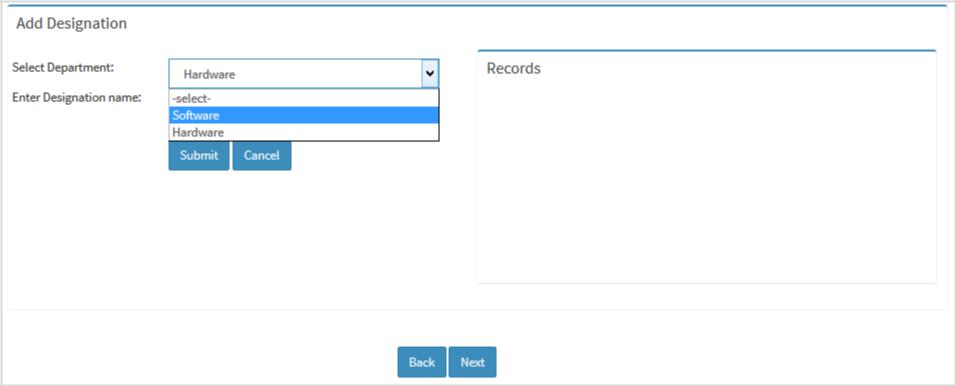
Fig. 2.21
Then we enter Designations in that Department for eg. Software Developer and we click Submit button refer to figure 2.21 and figure 2.22
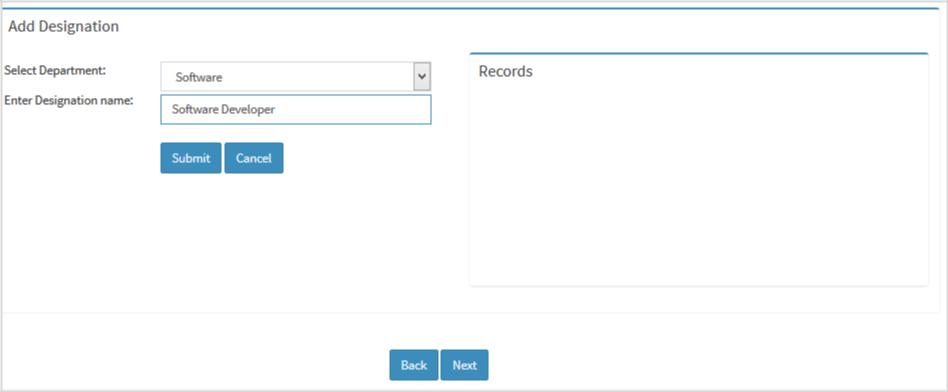
Fig. 2.22
Now we can see Department and Designation in the Grid.We also have the option to edit or delete the entry in the Options refer to figure 2.23
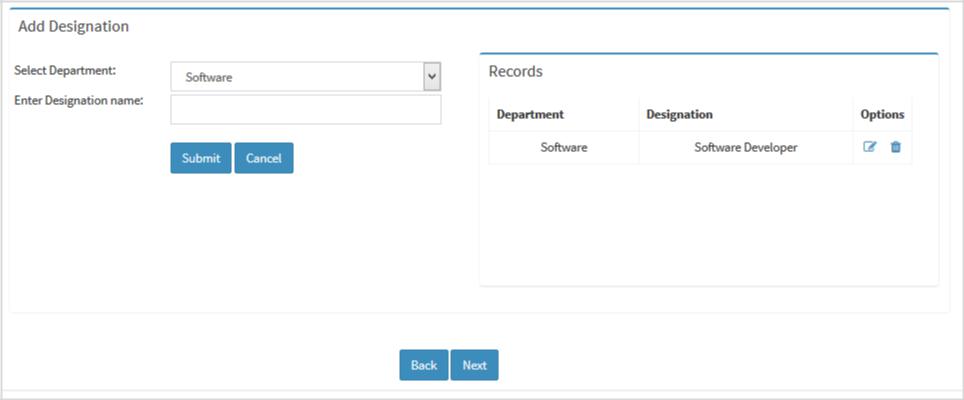
Fig. 2.23
After clicking Next button you move on to Employee Master Module.
Here we start creating employees that will use the application. At least one employee needs to be created for the setup process, refer to figure 2.24
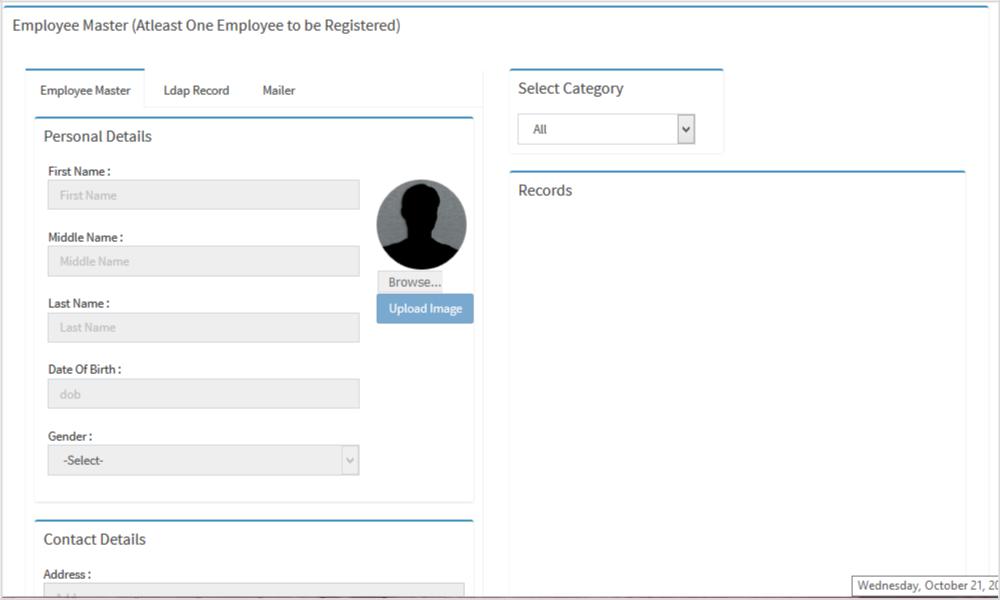
Fig. 2.24
Click Submit Button and your record will show in the grid on the right hand side of the screen refer to figure 2.25.
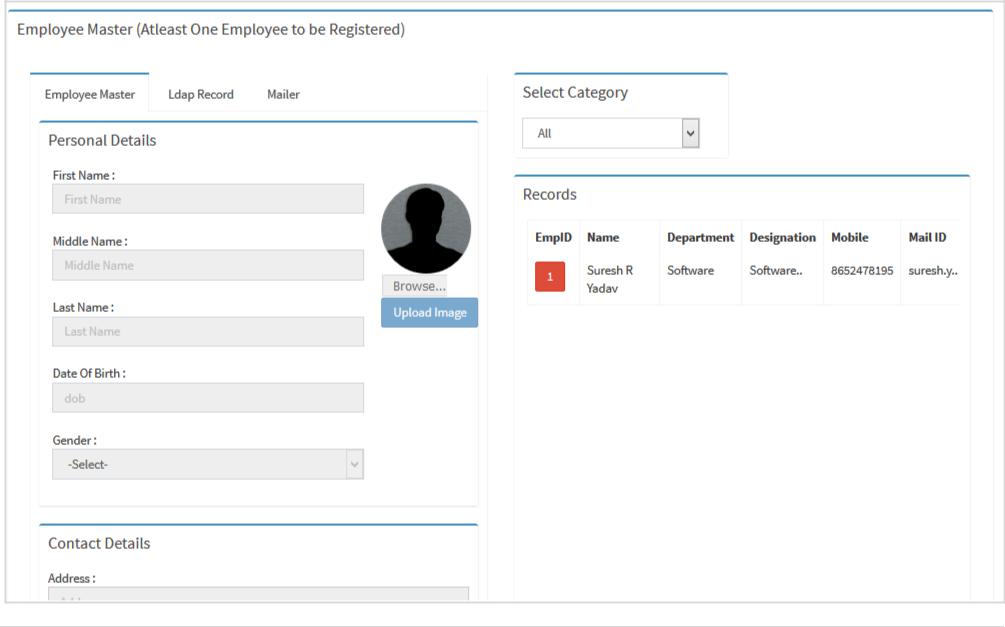
Fig. 2.25
We also have the option to enter LDAP authentication
The purpose of LDAP is to allow the user to use active directory authentication. We have to enter the URL of LDAP server and SAM account of that user refer to figure 2.26
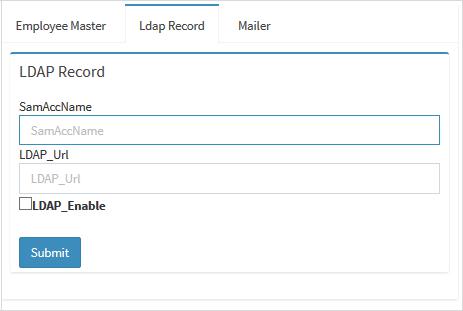
Fig. 2.26
After Entering the Account name and LDAP_URL we get to see the screen as below refer to figure 2.27
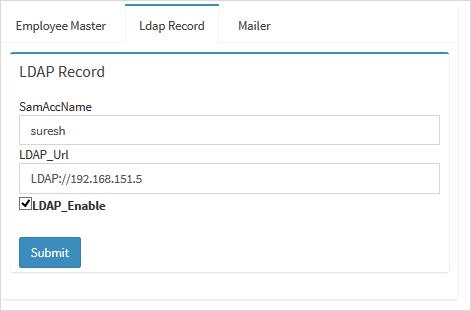
Fig. 2.27
Once you finish with employee details, click next to go to the next setup process.
Here you can create customer category.Fill the category box to see the customer category record.It is optional you can skip it if you don’t want to create customer category refer to figure 2.28 and 2.29.
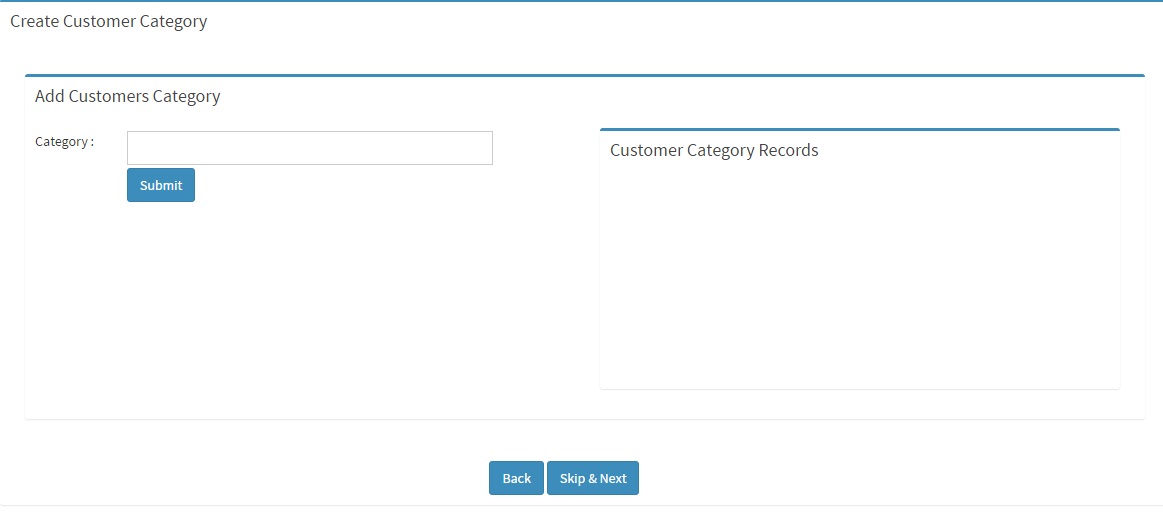
Fig. 2.28
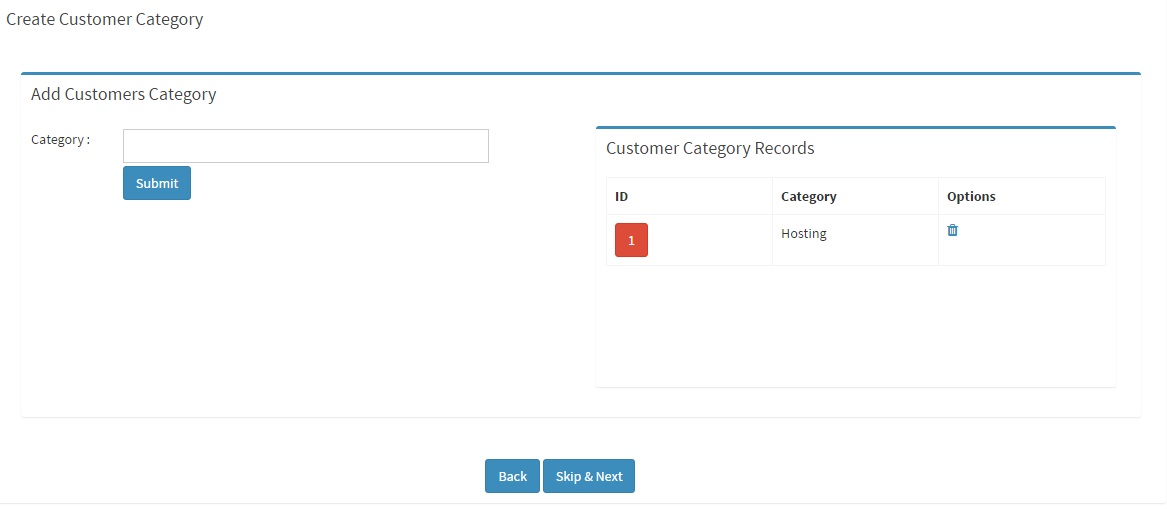
Fig. 2.29