This portal is used by the customers to login and track their complaints. And installation process is also similar to the vendor portal and EQMS Web portal. Customer Care portal connects to your EQMS Web installation. And uses the same company as defined for EQMS Web.
1. Go to your IIS manager.
2. Select yourwebsite to deploy application.
3. Select ‘Deploy’ ‘Import application’.(Refer Fig 5.1)
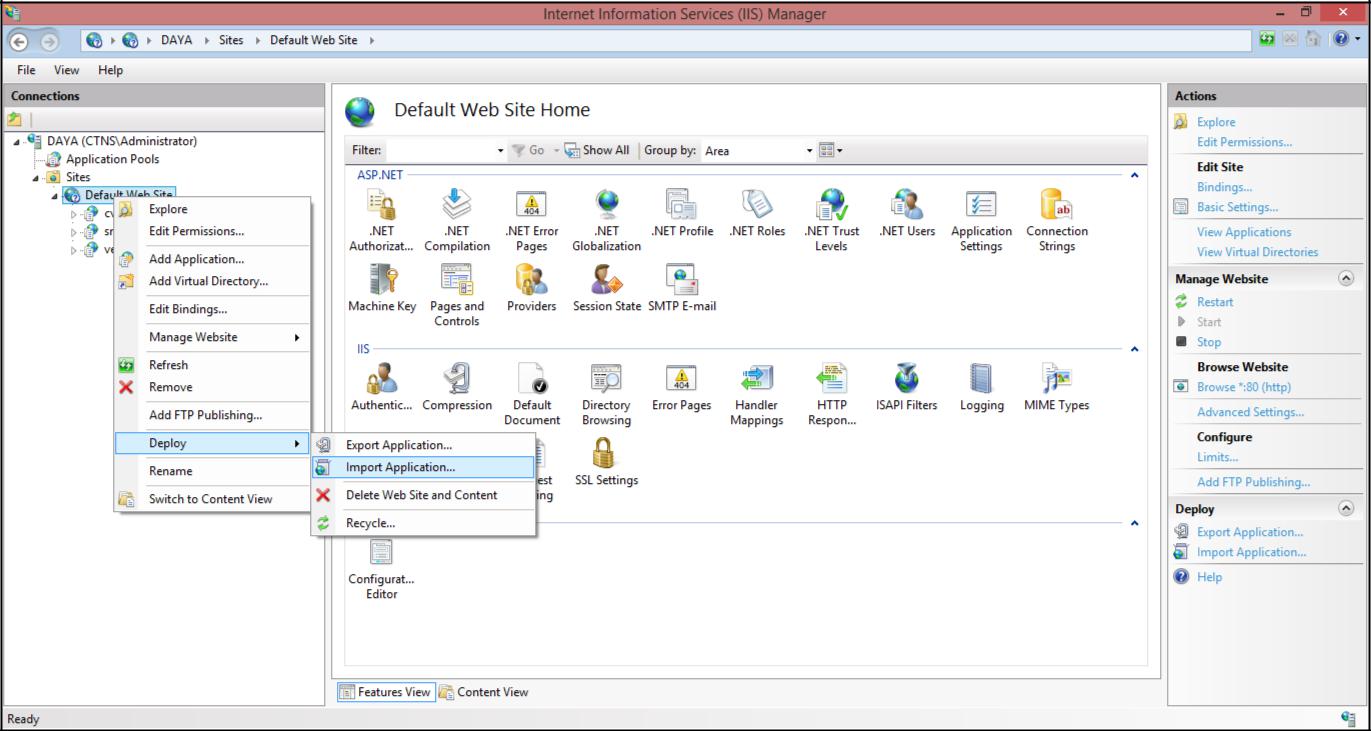
Fig. 5.1
4. The Import Application Package wizard opens and shows the Select the Package dialog box.
5. In the Package path box, Browse and select your.zip file from the location where you downloaded.
6. The Select Package dialog box resembles the following illustration: (Refer Fig 5.2)
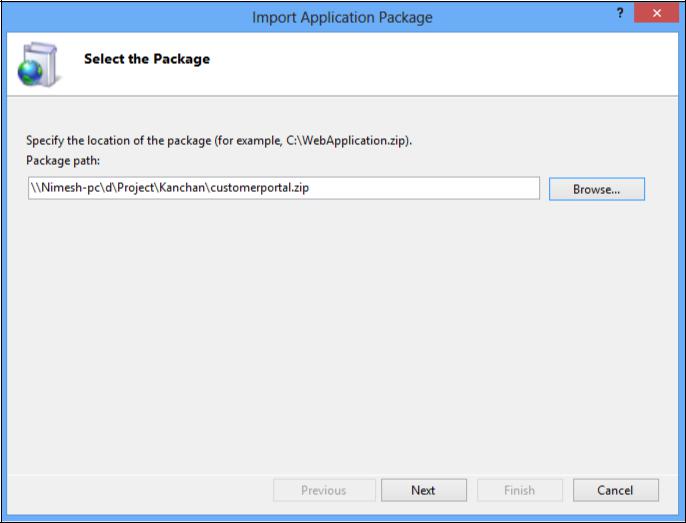
Fig. 5.2
7. Click Next.
8. The Select Contents of the Package dialog box is displayed as shown in the following illustration: (Refer Fig 5.3)
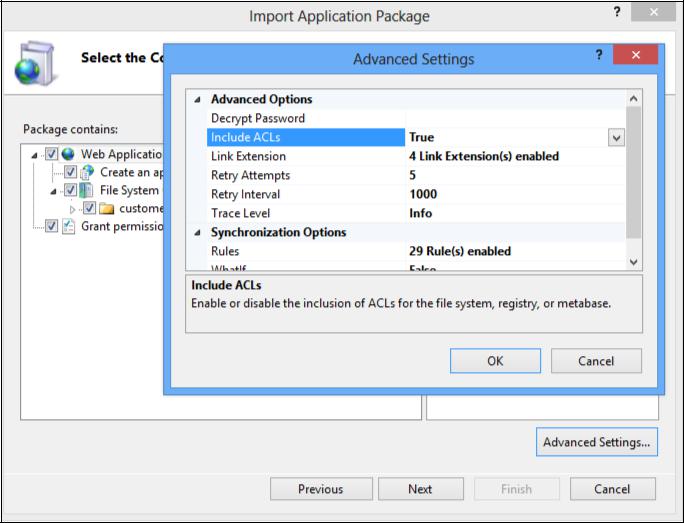
Fig. 5.3
9. Click Next.
10. The Enter Application Package Information dialog box is displayed as shown in the following illustration: (Refer Fig 5.4)
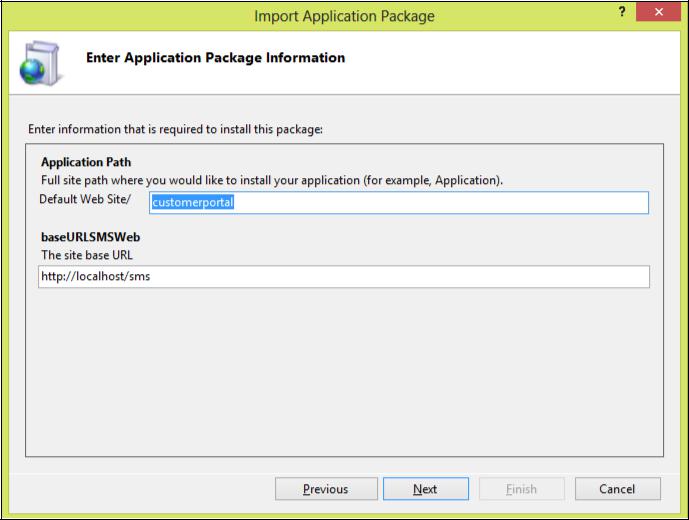
Fig. 5.4
11. While Web Deploy installs the package, the Installation Progress and Summary dialog box is displayed. The dialog box shows a progress bar during the installation process. When the process is complete, the dialog box shows a log of what was done, as shown in the following illustration: (Refer Fig 5.5)
12. Right click customerportal site and browse. (Refer Fig 5.5)
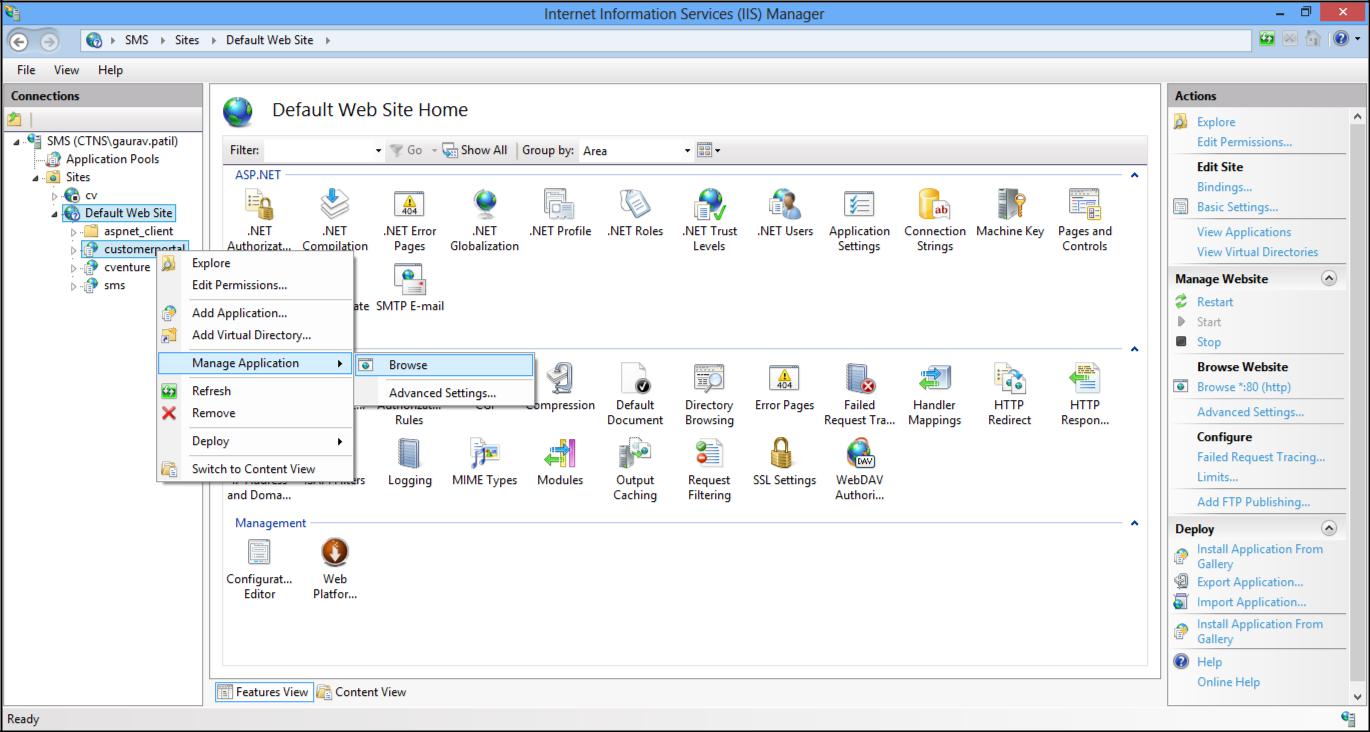
Fig. 5.5
1. Go to your IIS manager and add a site .
2. Go to IIS and add website.. Or if you have web deploy installed you can directly import the application. (Refer Fig 5.6)
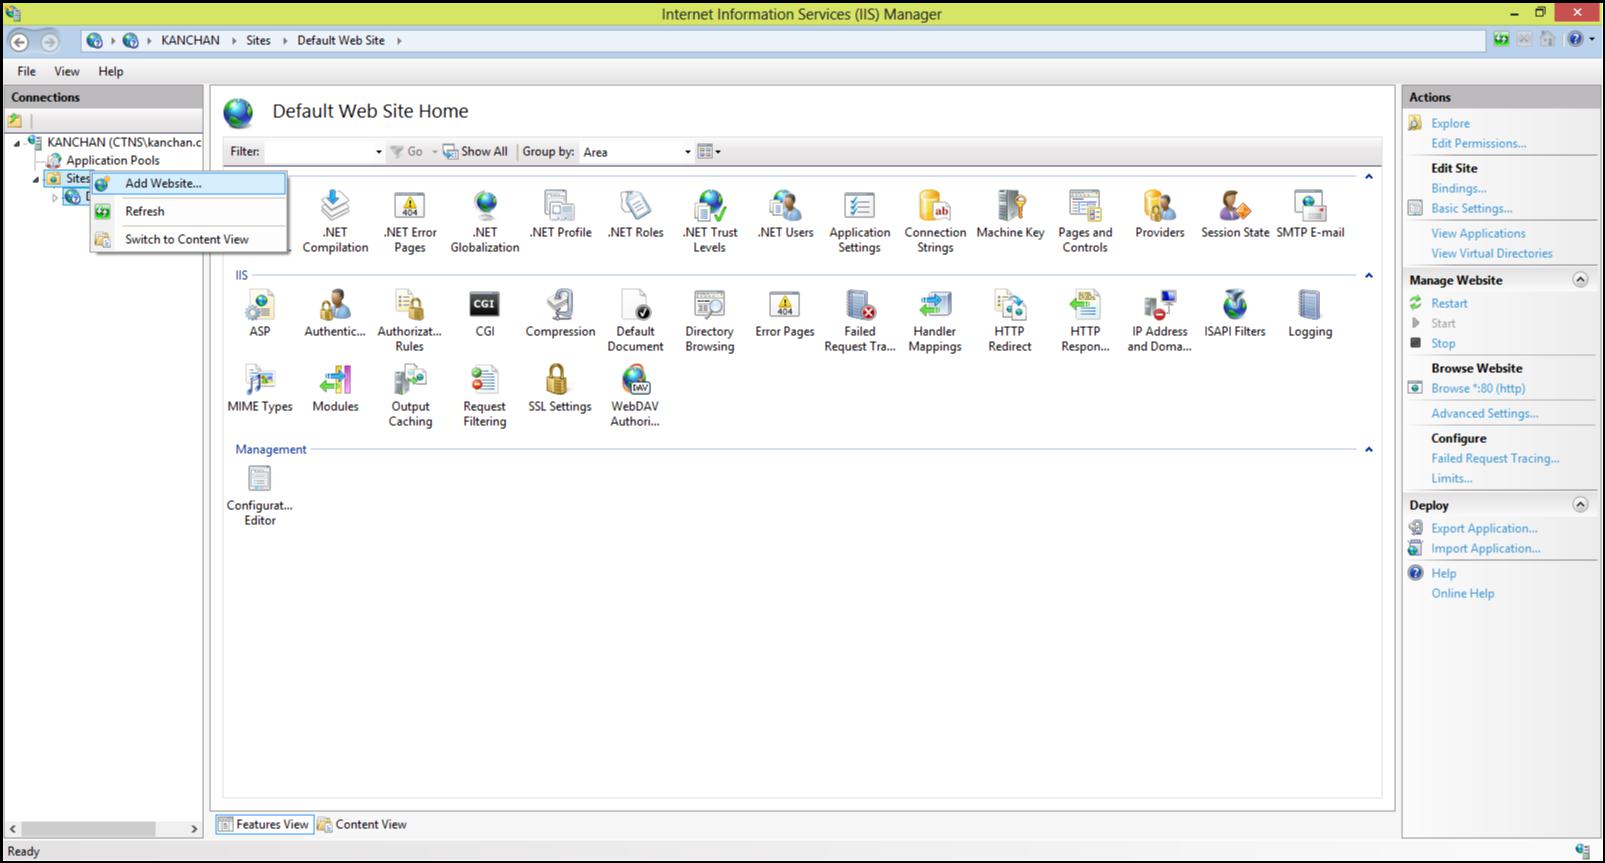
Fig. 5.6
Point the physical path to the customerportal folder and define the Port. Or the host header value for your customerportal app(Refer Fig 5.7 and Fig 5.8)
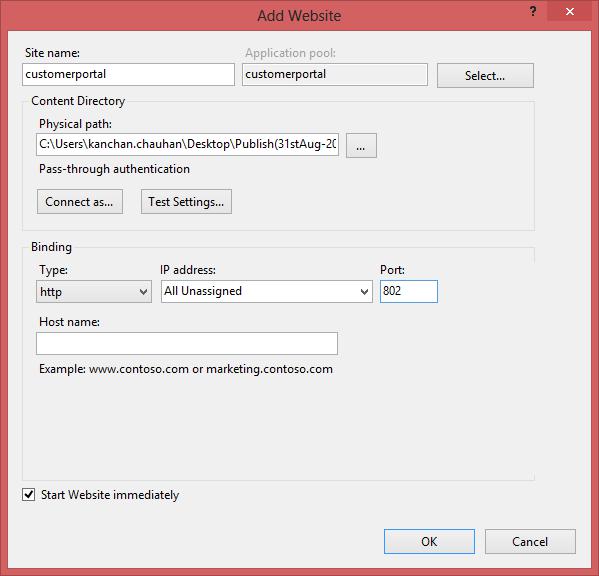
Fig. 5.7
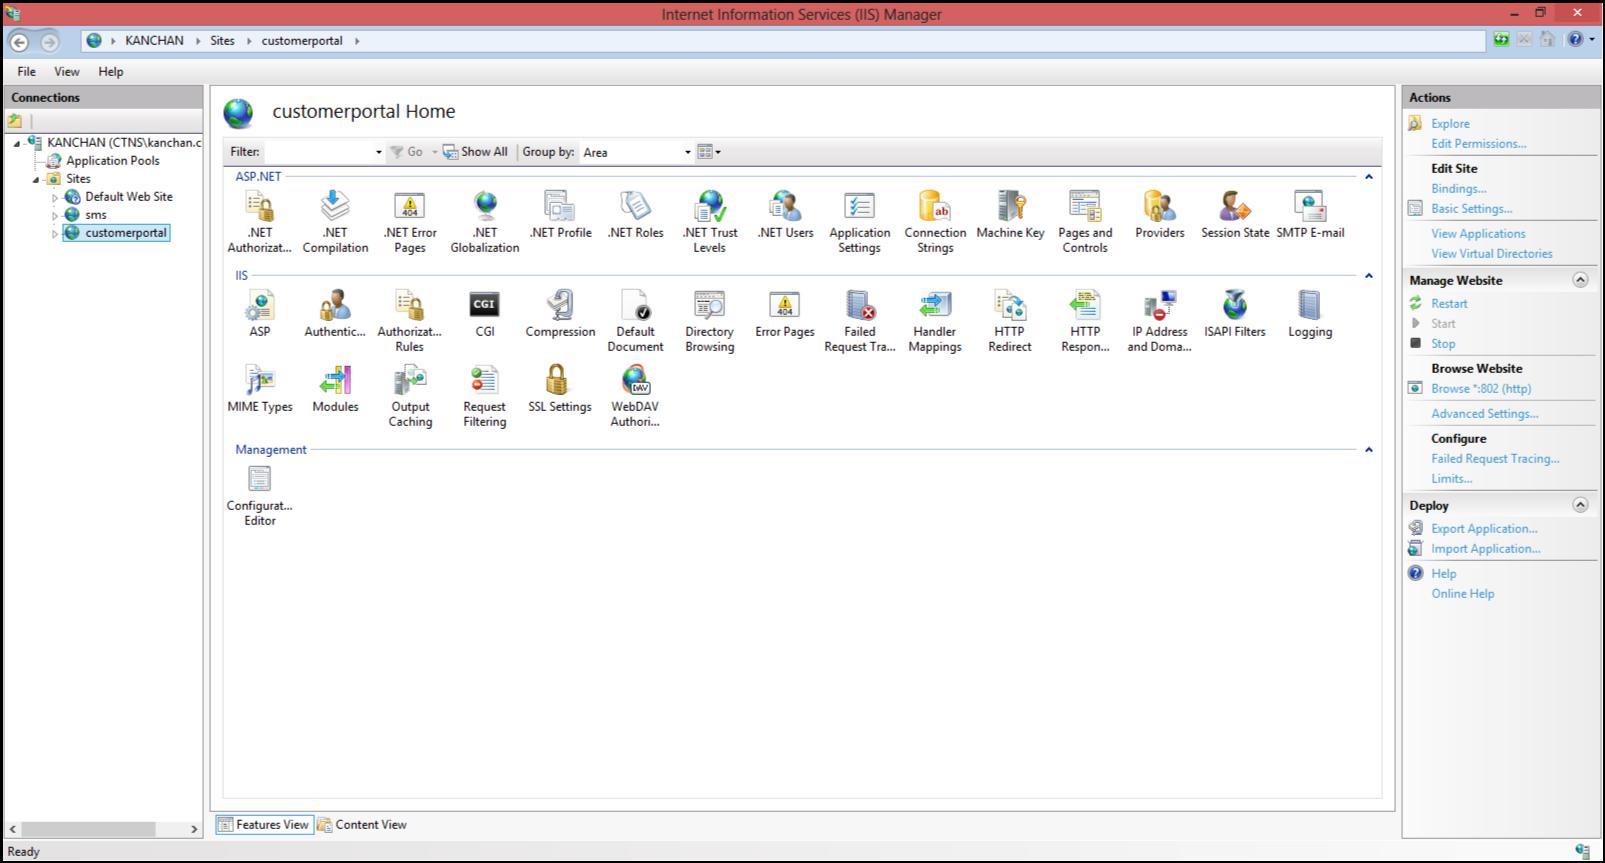
Fig. 5.8
Use port 802 and provide the host name so that we can access the host from outside. Remember to open port 802 on your firewall and point it to the server. Also remember to add required DNS entries for the host name in your DNS setting at hosting pane. (You can use port 80 with host header defined in the bindings and point appropiate DNS record for the same.)
Right Click the customerportal site created and explore. (Refer Fig 5.9)
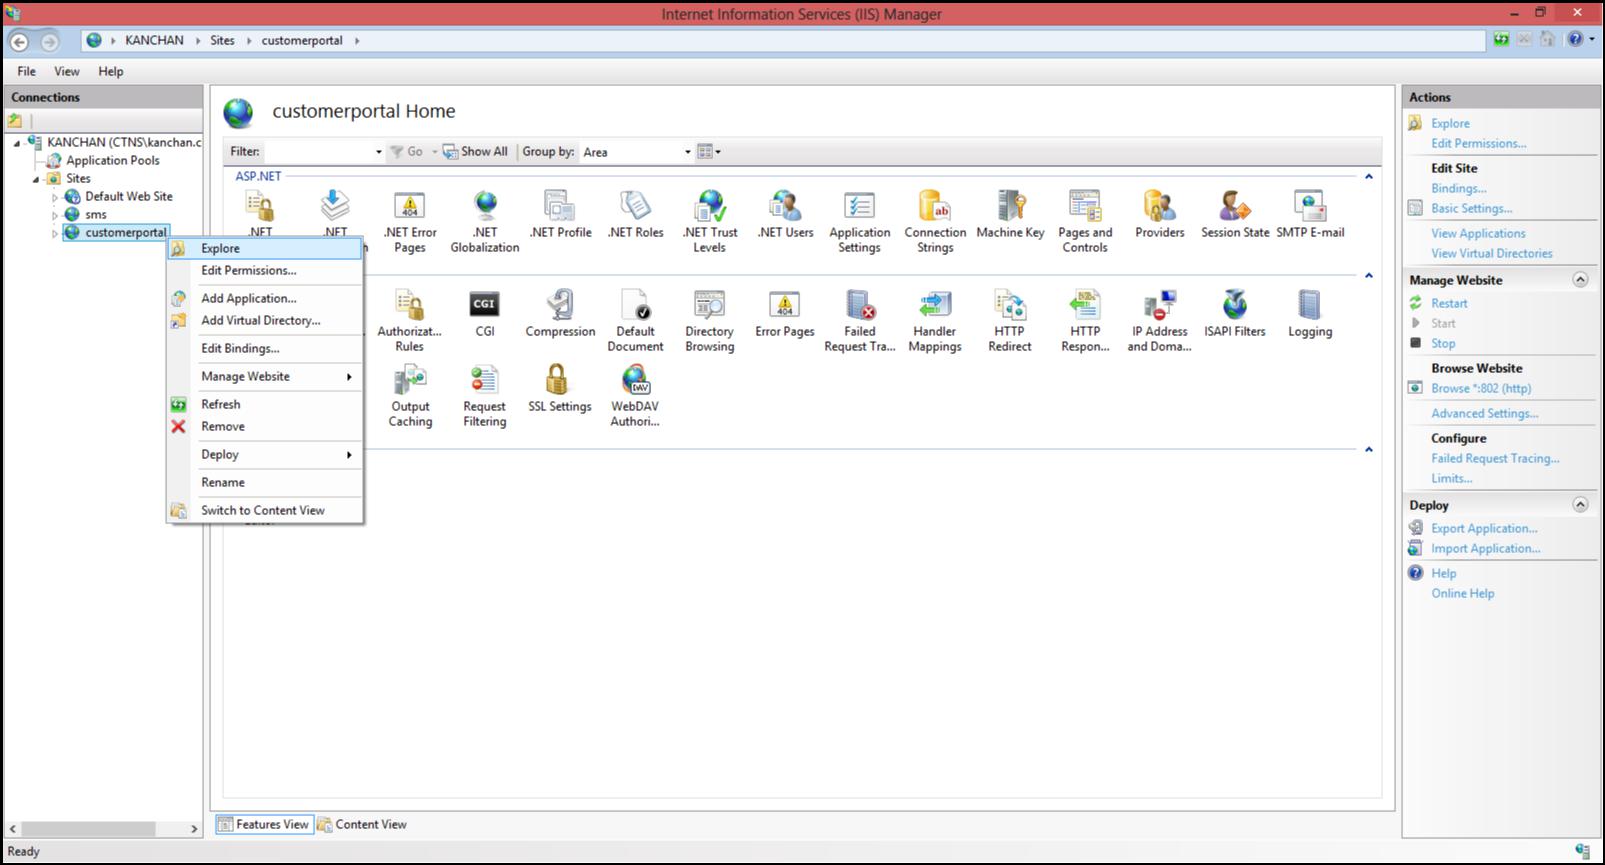
Fig. 5.9
Open the web.config file (Refer Fig 5.10)
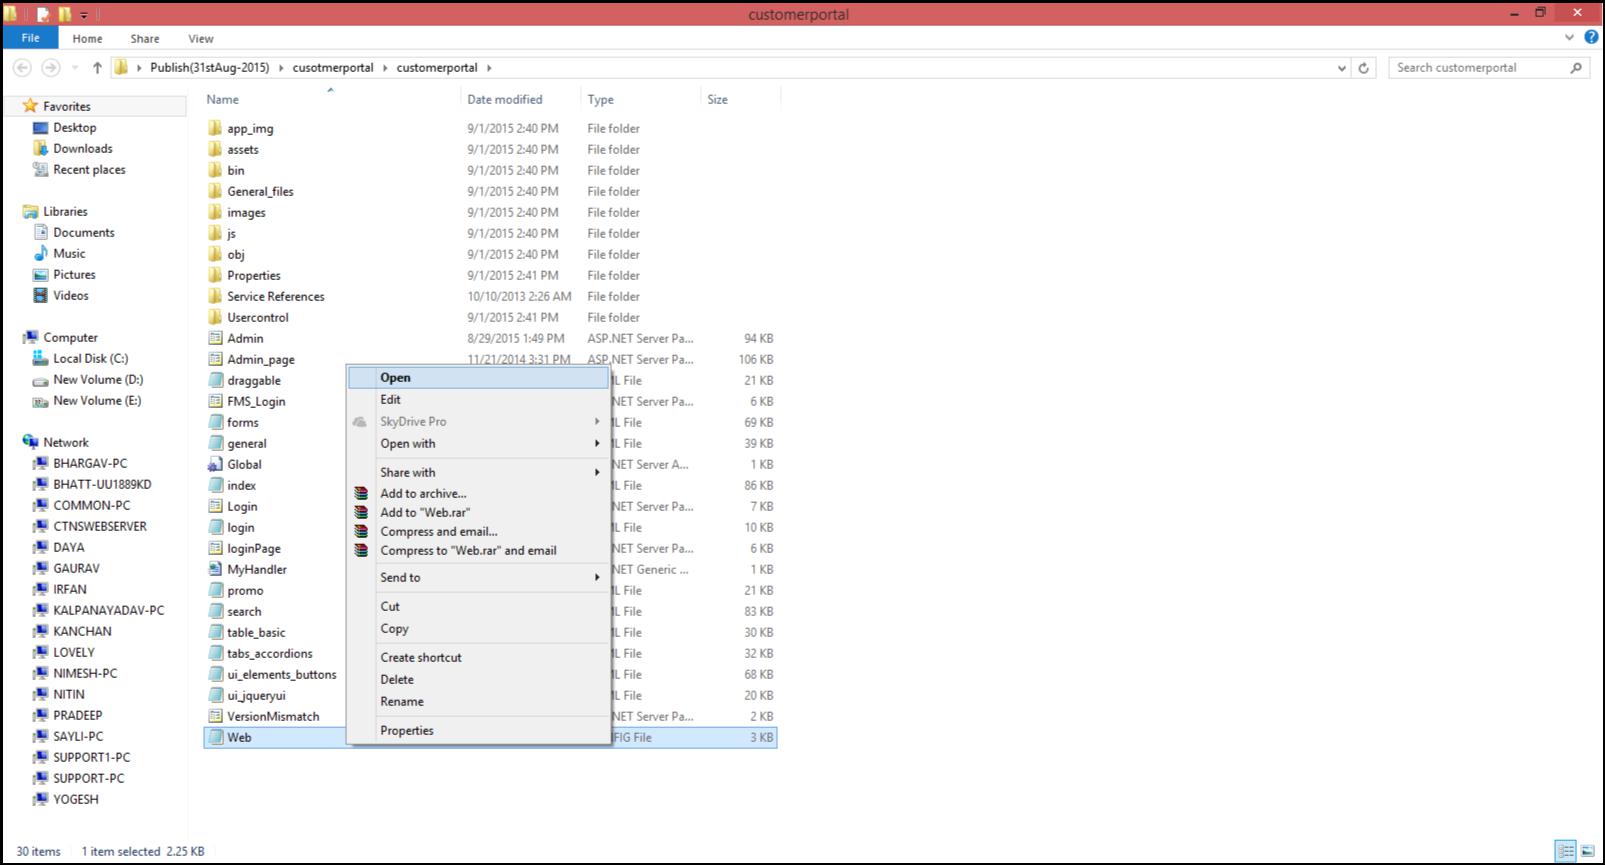
Fig. 5.10
Modify the Clients endpoints and the IP address of your server (Refer Fig 5.11)
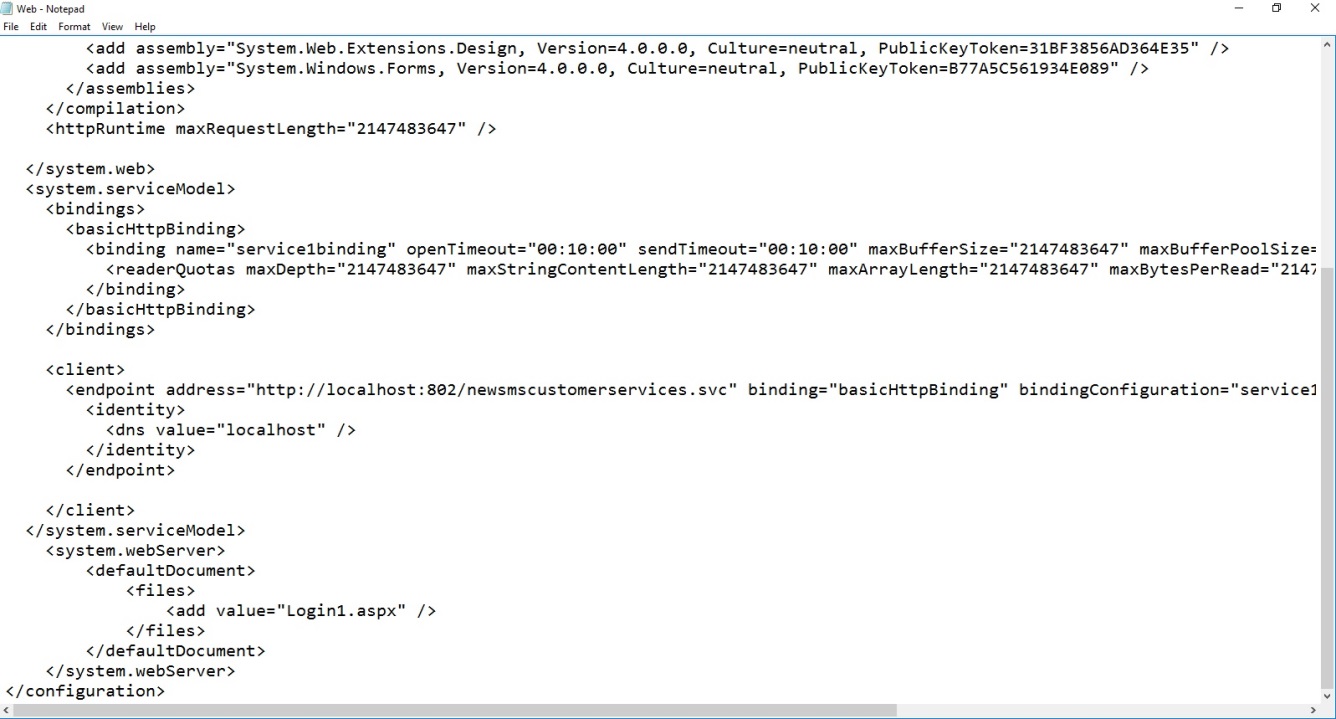
Fig. 5.11
Do this for all endpoints.
Note :- All endpoint should point to your EQMS Web Portal. So provide path to your EQMS Web Installation.
Ensure the Application pools used by customer portal is running on .net framework 4.0 (Refer Fig 5.12)
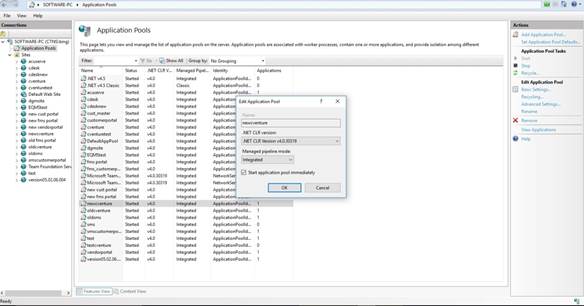
Fig. 5.12
Configure Application pool for service.
To setup the customer portal app, you need to login into EQMS application using admin Id.Go to Masters menu,select Customer Master menu item and create a customer you need to use for the customer login as illustrated : (Refer Fig.5.13)

Fig. 5.13
Fill the customer details and submit (Refer Fig.5.14)
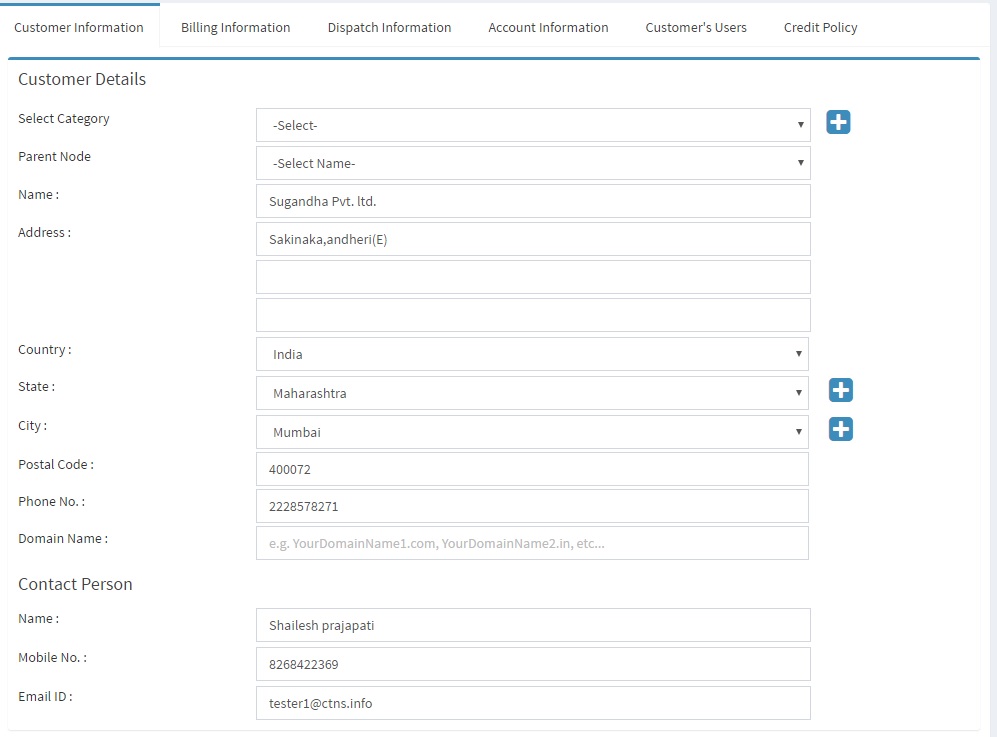
Fig. 5.14
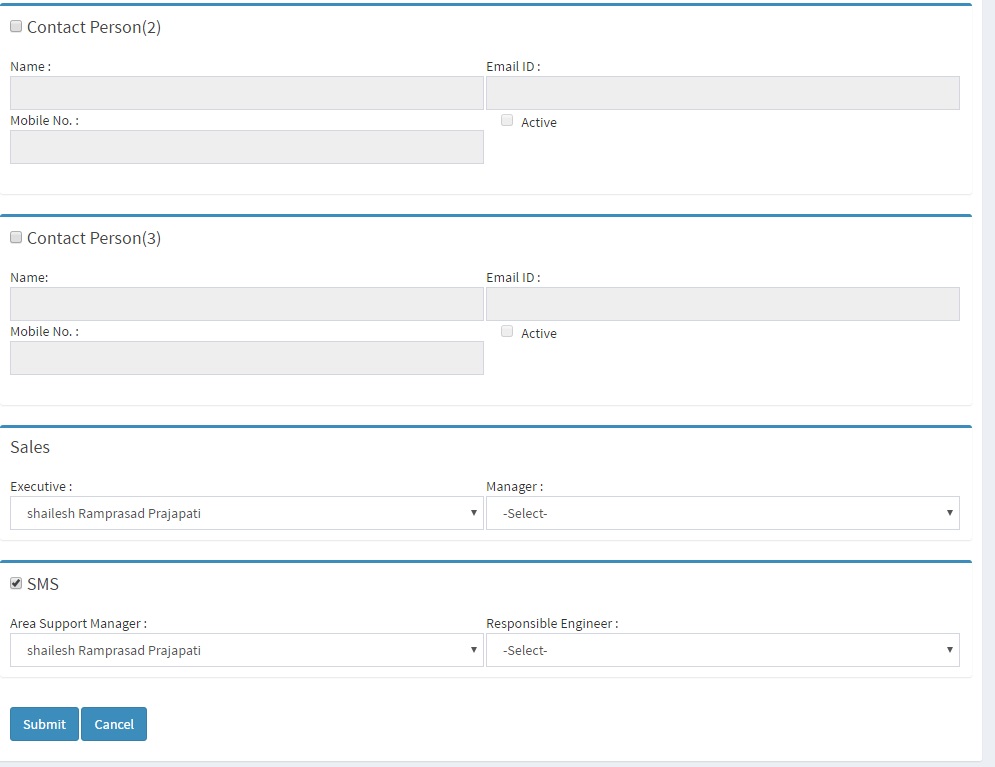
Fig. 5.15
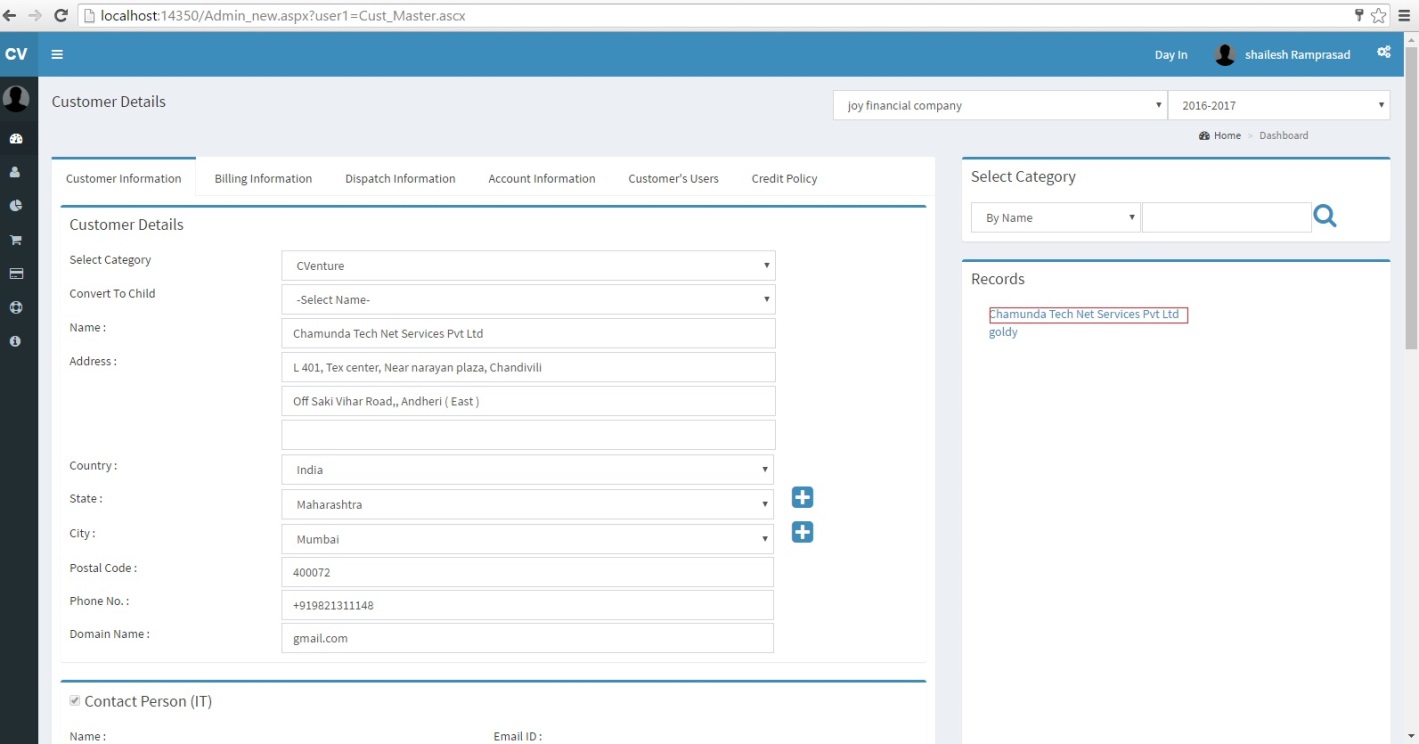
Once you created the customer ,click on customer name as shown below.
Click on account information tab to create the username and give user other privileges. (Refer Fig.5.16)
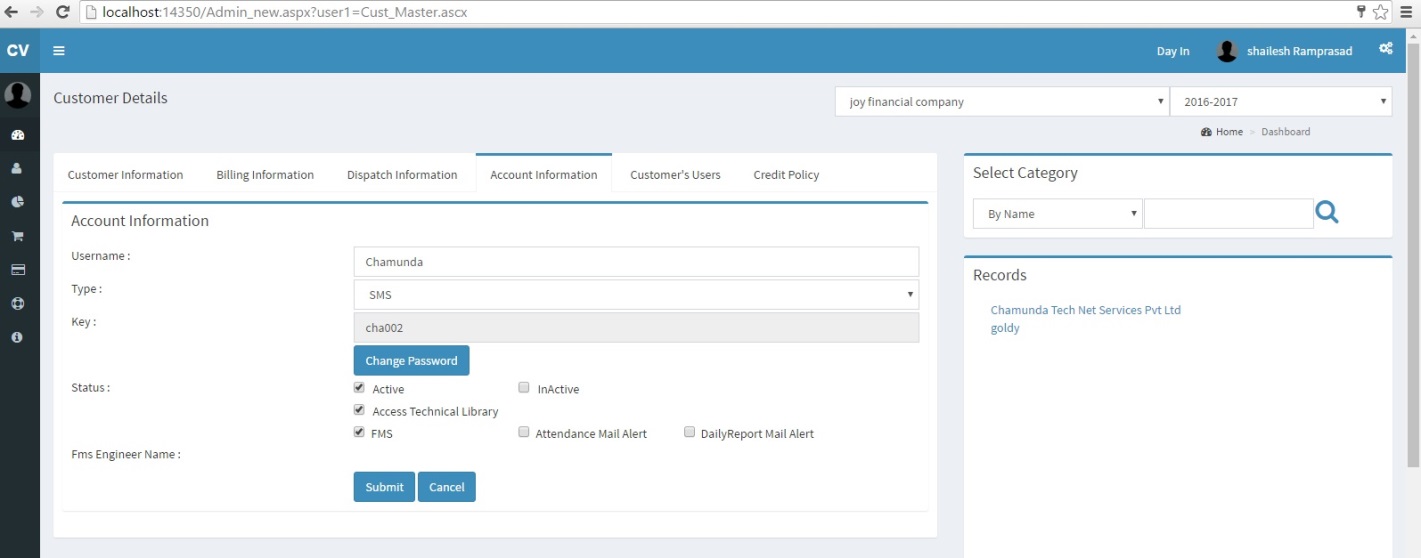
Fig. 5.16
After filling account information click on submit button .Now you can login to your customer portal with your username and default password is your username as you have added in account information.
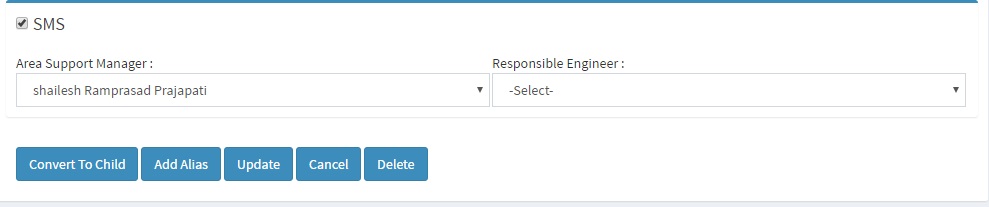
Please make sure that SMS is checked or not before login to customer portal.If it is not checked then checked it and click on update button and go to account information tab and submit the account details again.
Once you are done with EQMS app, logout and Right click customerportal site and browse (Refer Fig 5.17)

Fig. 5.17
Browse the site and you will get the company selection screen. Enter the URL of your EQMS app as shown in fig 5.18 and 5.19.
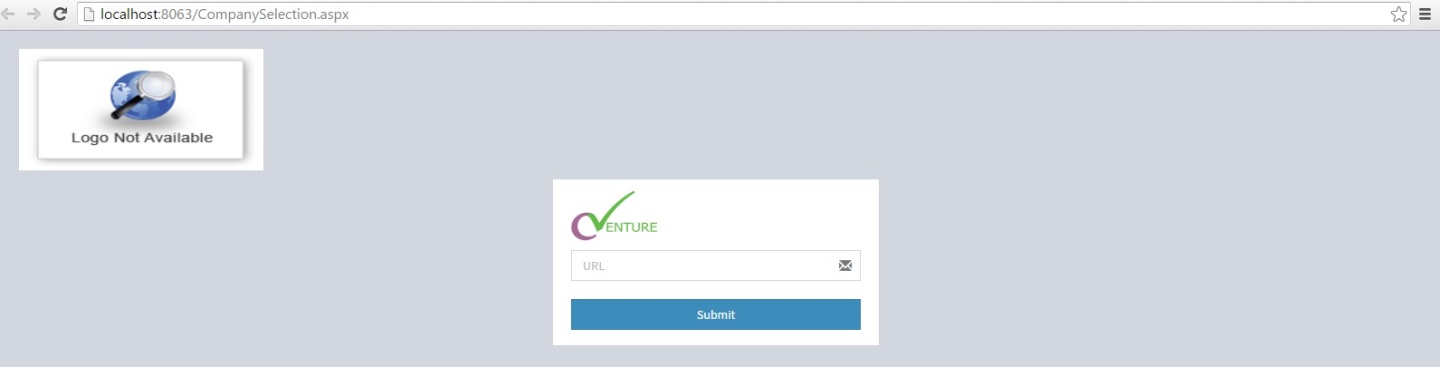
Fig. 5.18
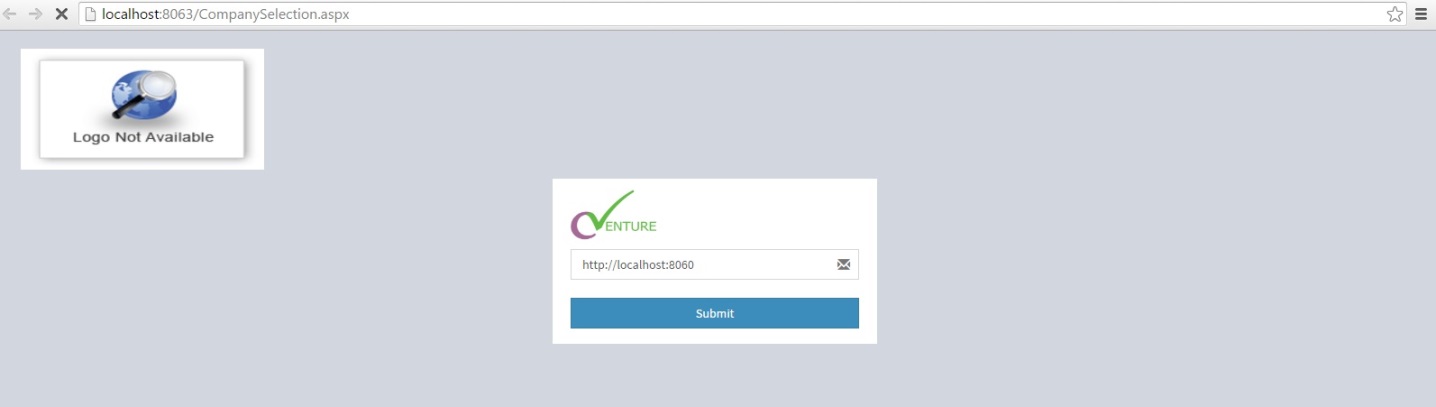
Fig. 5.19
Click submit button it will show your company name as shown in fig.5.20
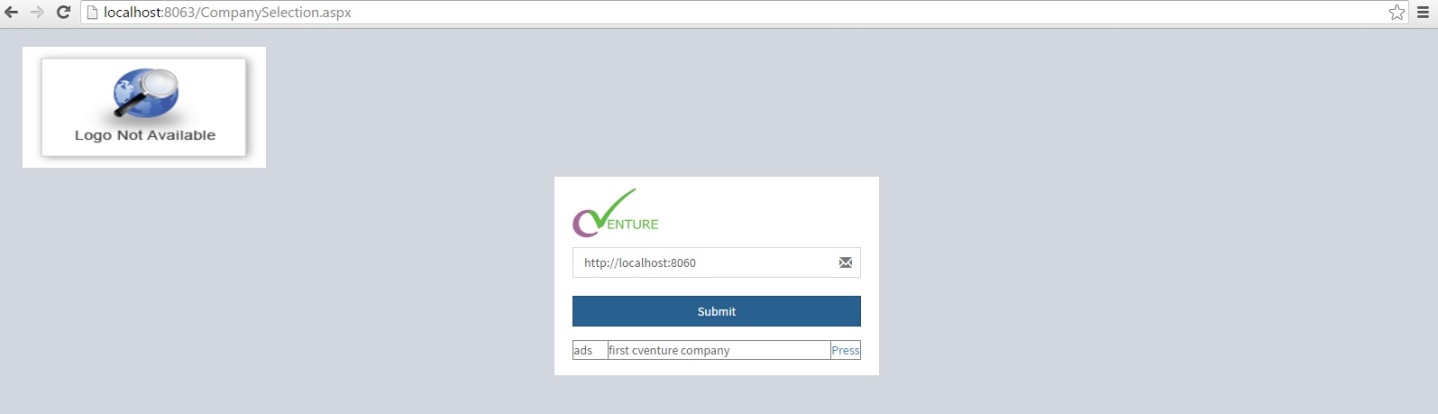
Fig. 5.20
Now click on press button to select company as shown in fig.5.21.
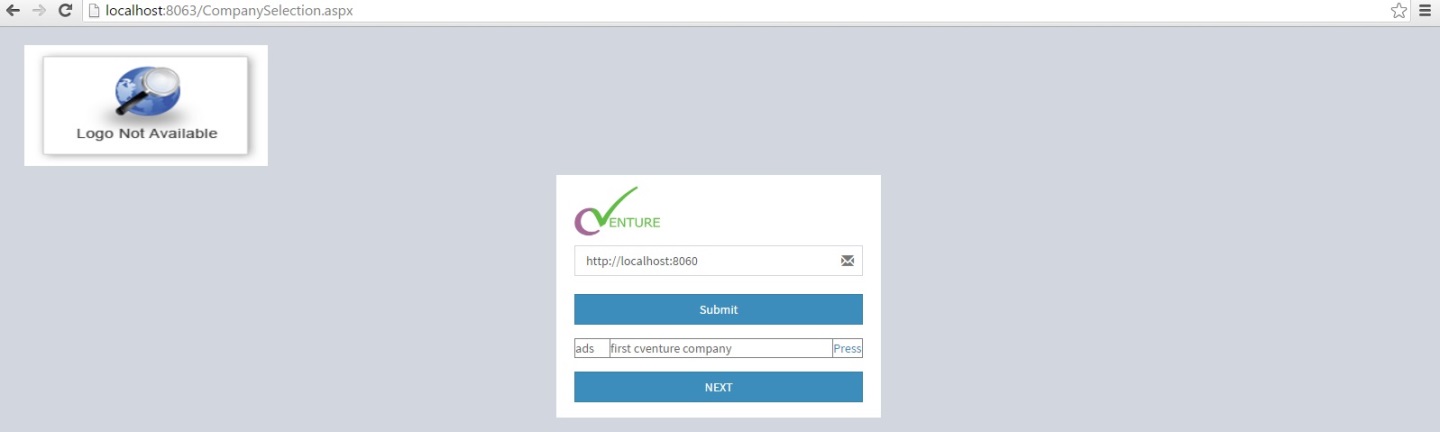
Fig. 5.21
After next button click you will get the login screen. Enter the username and password for Customer portal which you have created in Customer Master of EQMS app. So you can now provide usernames and passwords to your customers and the path to your customer portal for them to login and track complaints.
(Refer Fig 5.22 and Fig 5.23)
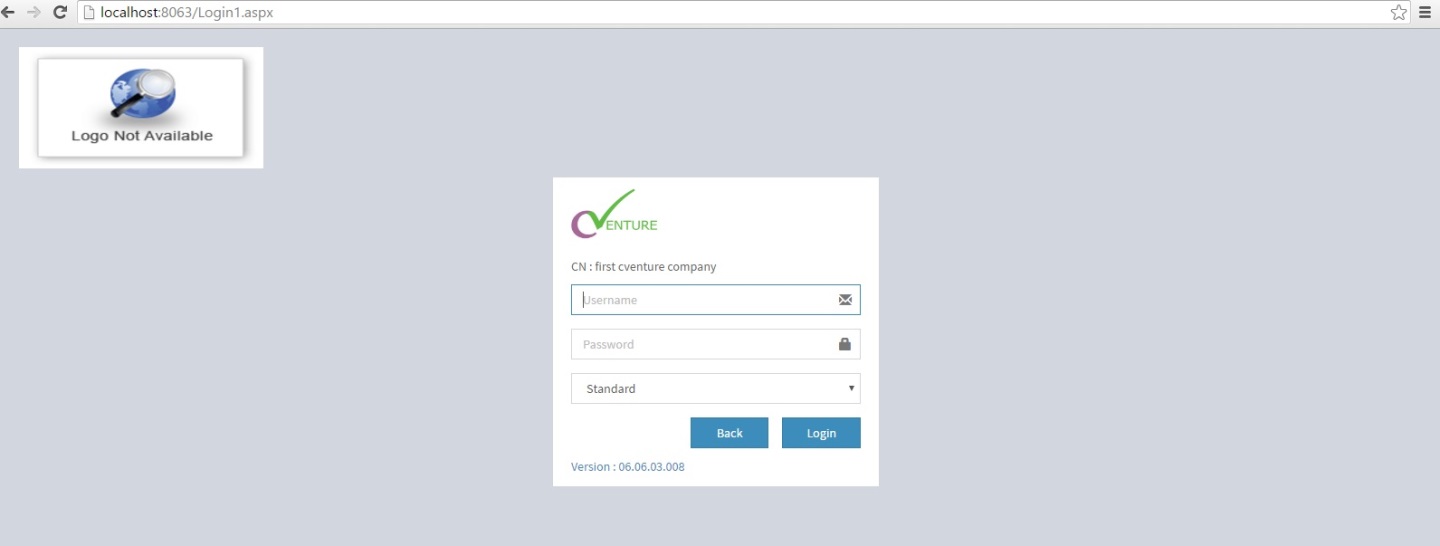
Fig. 5.22
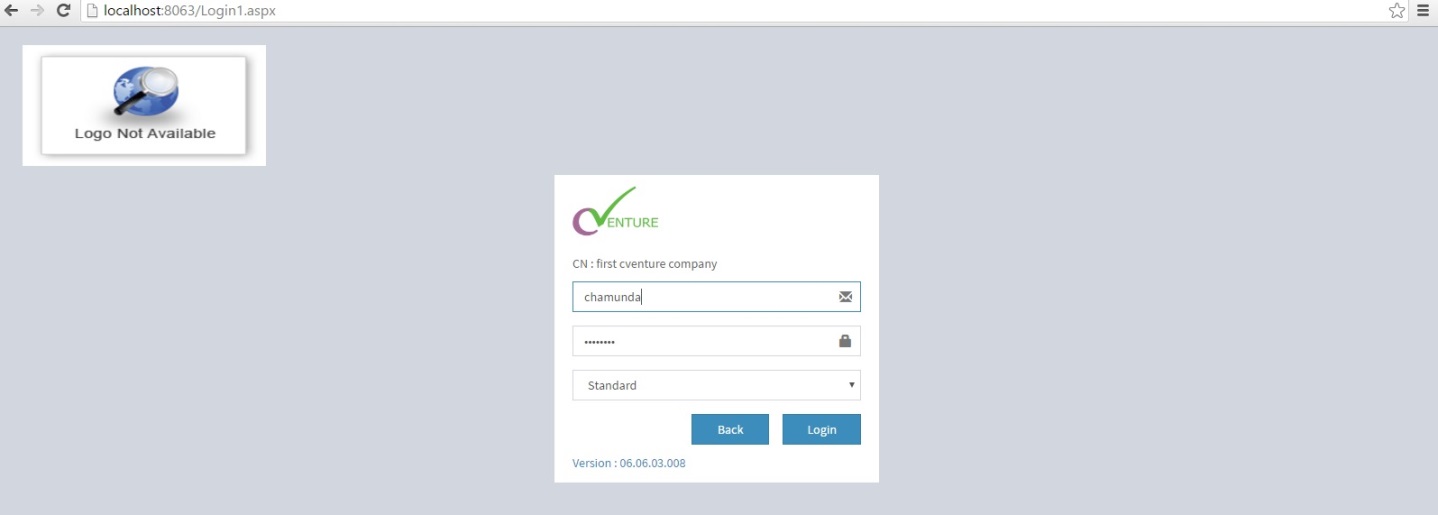
Fig. 5.23
After login you can see the complaints as shown in fig 5.24.
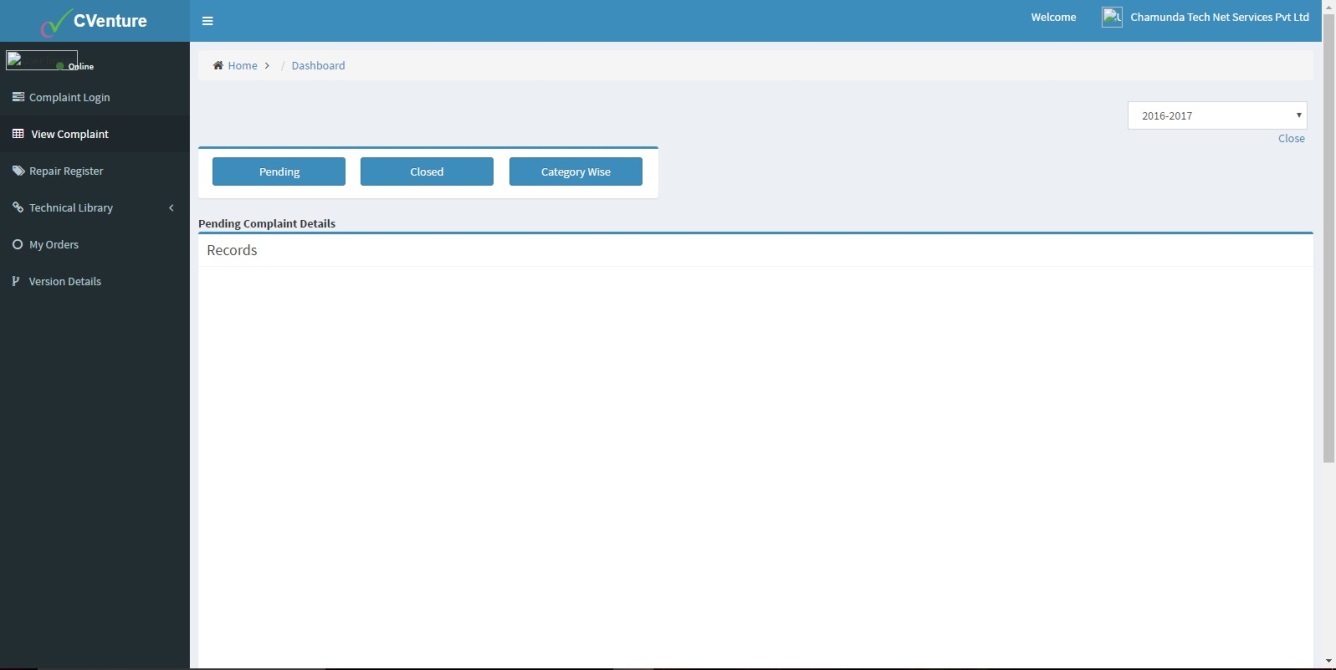
Fig. 5.24