Here we have to enter type of Sales order and Code refer to figure 2.42. This helps to sort information , For example we have invoices related to support, Sales, Hosting etc so we define type which helps to sort information whenever required.
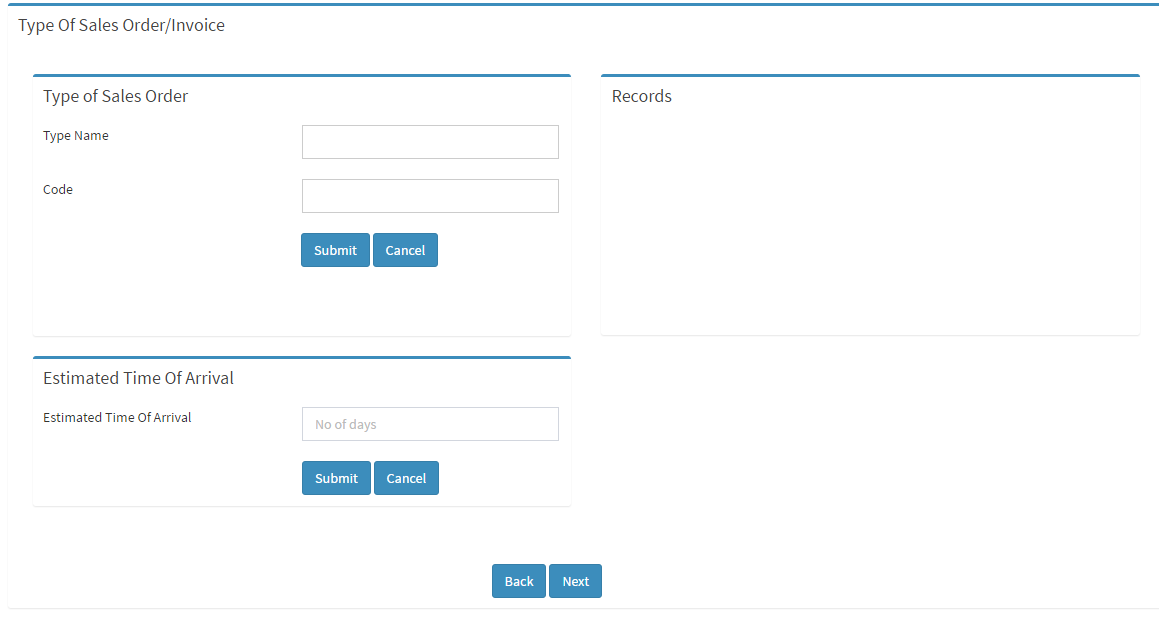
Fig. 2.42
We enter for ex. “Support” and “Code” refer to figure 2.43
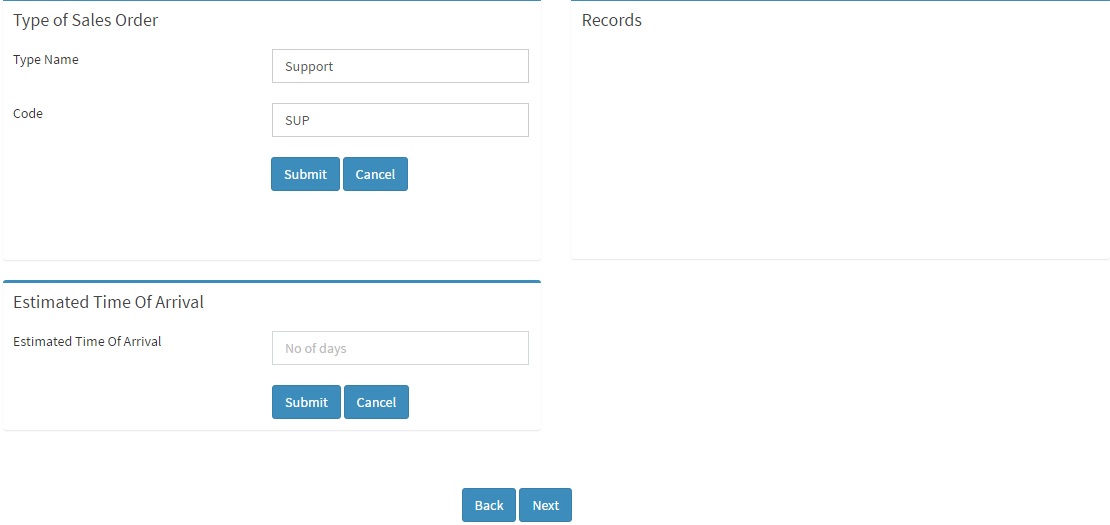
Fig. 2.43
On clicking Submit we see the type and code in a grid. We can update or delete in options of the grid refer to figure 2.44
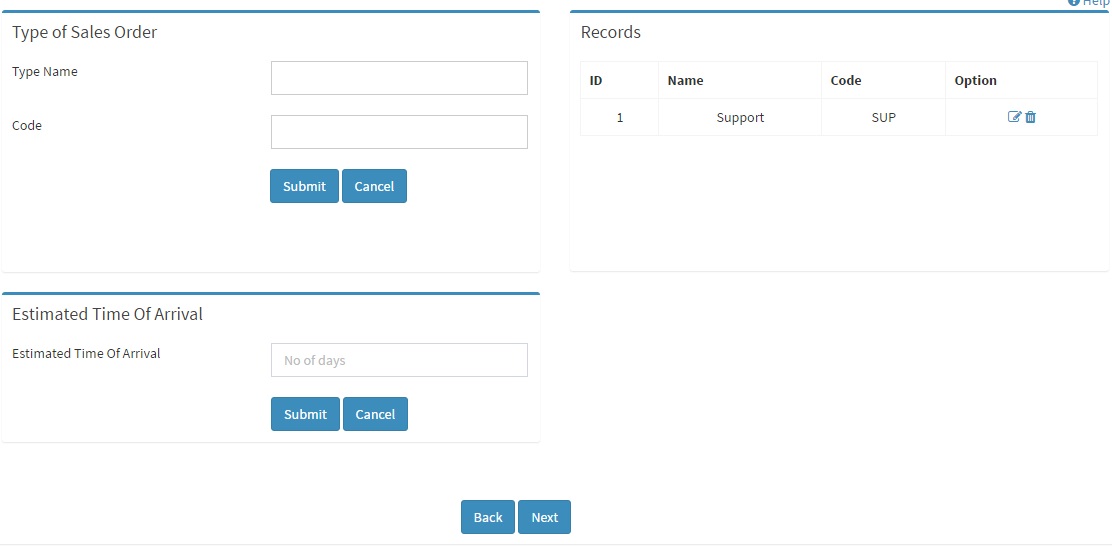
Fig. 2.44
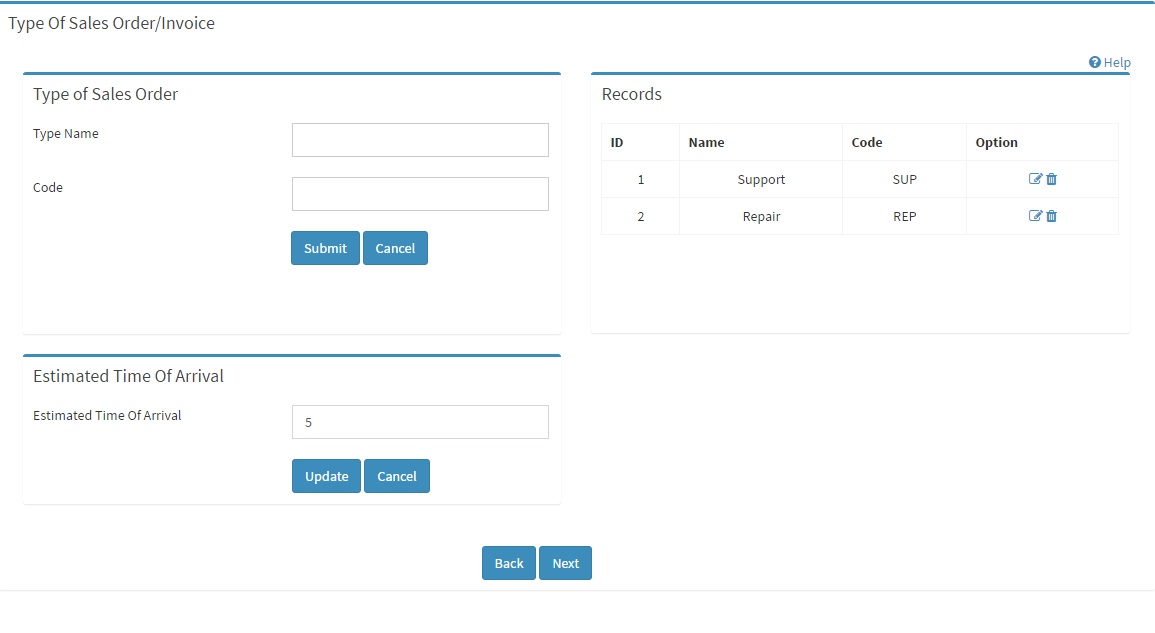
Here we have added another type of support and code as shown below refer to figure 2.45
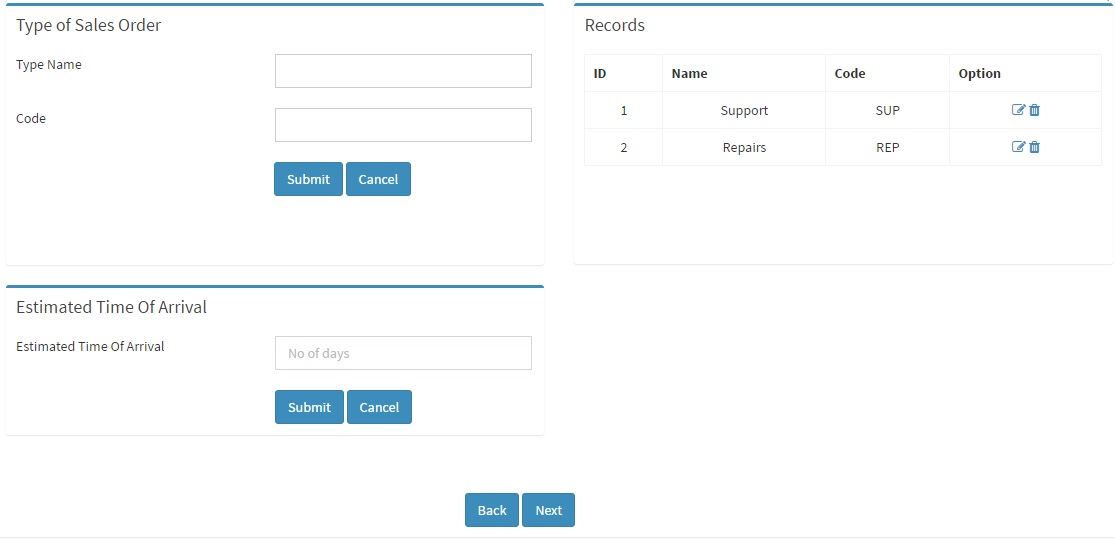
Fig. 2.45
After adding type of sales order add Estimated time of arrival (ETA) days and click submit as shown below.
After adding the sales order setting click on NEXT button.
Here we first enter group name and enter Submit button. The group name is displayed in a grid where we can Disable, Update, Delete.
Next we enter the Rates and Descriptions and click the Submit button. On clicking Submit button we can see the Rate and description in the grid. Rates is in percentage.. For example 1 %
At last we do Group Calculation we select group name and the rate and select either tax amount or amount and click the Submit button. We get all the details in a grid refer to figure 2.46.
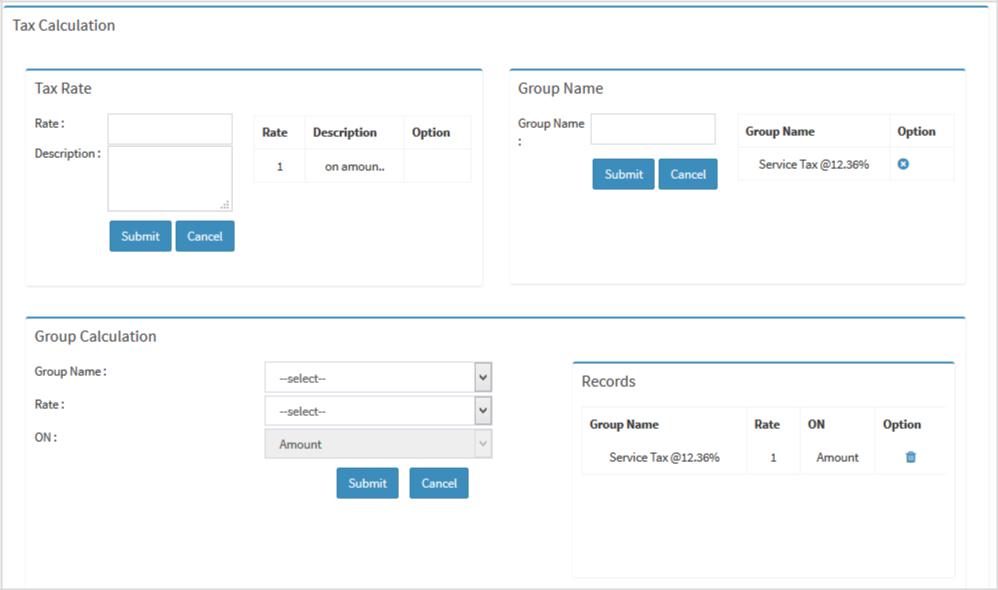
Fig. 2.46
The tax calculation is kept in such manner so that you can add multiple taxes if required.
On clicking Next button we go to Default Terms Sales and Quote module.
Here we enter default terms and quote for Sales Order and Quote refer to figure 2.47 and figure 2.48
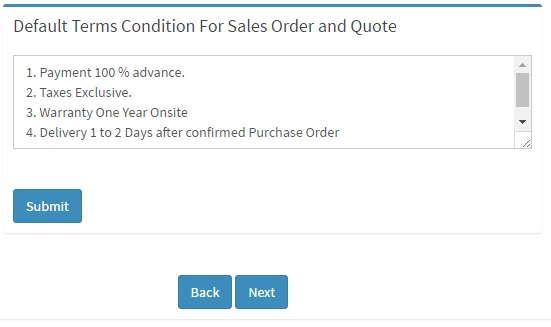
Fig. 2.47
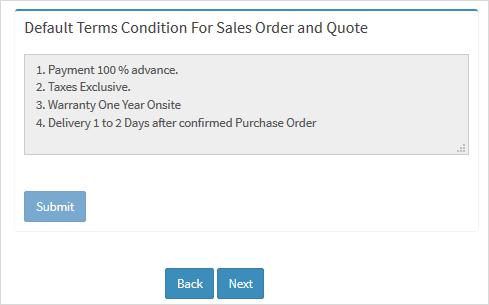
Fig. 2.48
After entering data we get a Popup then click OK refer to figure 2.49
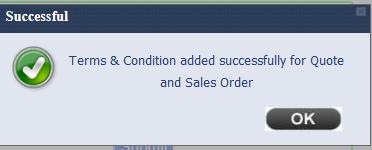
Fig. 2.49
After submitting the Quotes terms & condition Click on Next.. you can redirected to the Invoice Terms/condition refer to figure 2.49
Terms and Condition for invoice are entered here. You can add multiple terms and select one while preparing the invoice.. depending on the terms applicable for that invoice. ( This is used in invoice printing.)

Fig. 2.50
After click on submit button the terms and condition are displayed in the grid where it can updated or deleted till no invoice is created using that terms & condition refer to figure 2.51
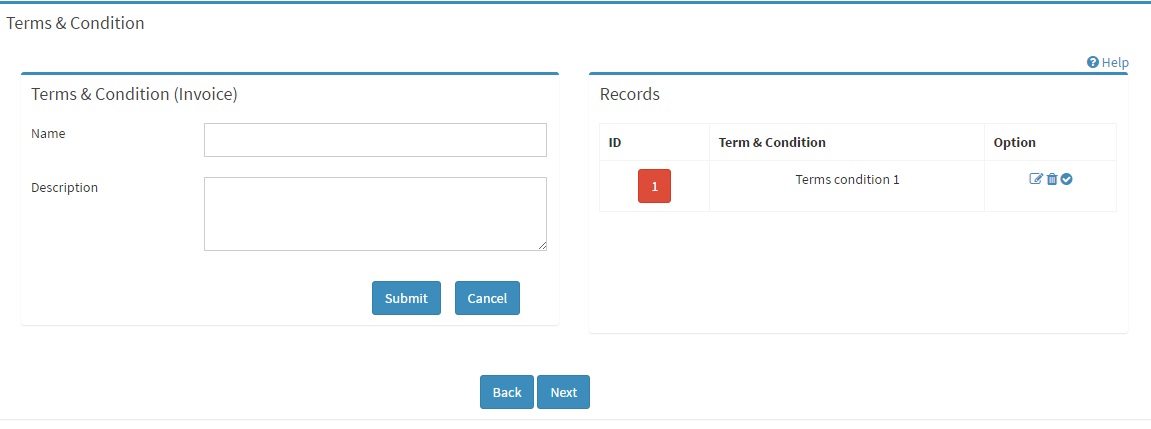
Fig. 2.51
After submitting the Invoice terms Click on Next...
Here we have to add terms condition for delivery note, enter the terms for delivery note and submit the details refer to figure 2.52 and figure 2.53. (This is used in printing delivery note)
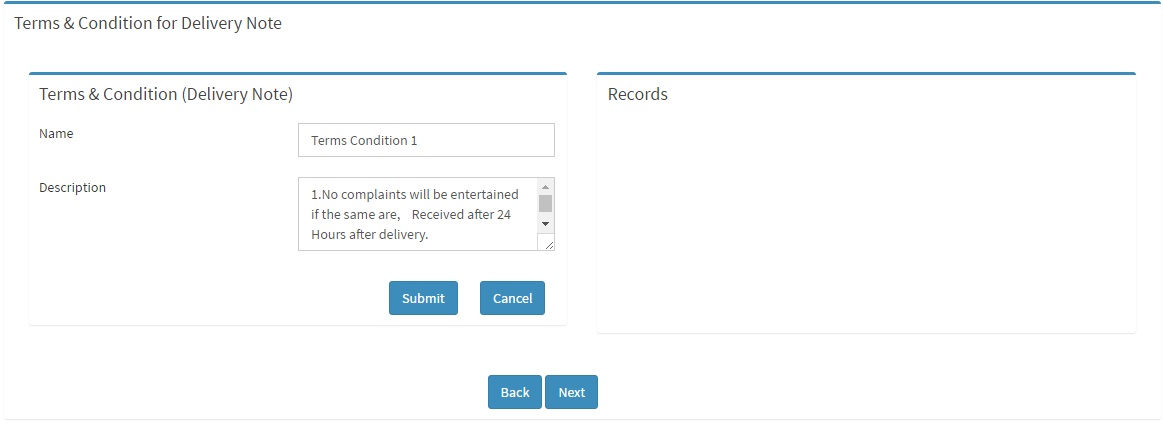
Fig. 2.52
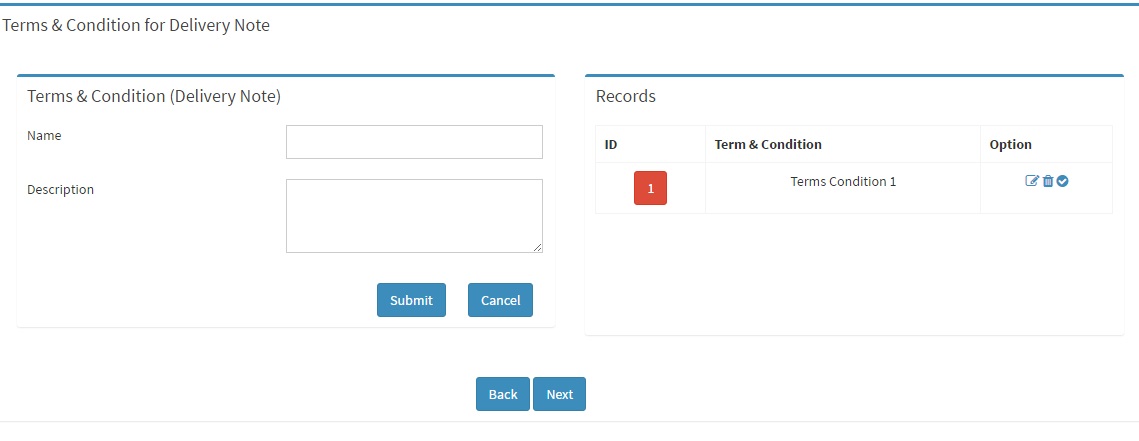
Fig. 2.53
After submitting the Terms/condition for Delivery note click on next you will redirected to Target & Achievement/Mailer writeups refer to figure 2.54
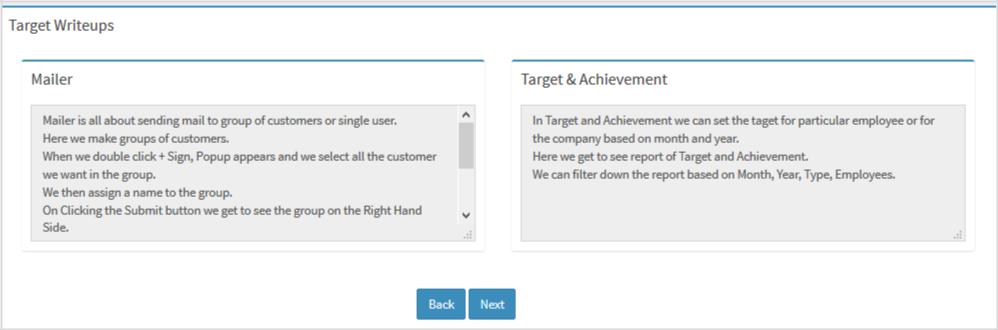
Fig. 2.54
This is just a details on how to use mailer and target and achievement module. So read it carefully and proceed to the setup further.