Here you can add the Customers, at least one customer to be added into the application. Here other two tabs are given to add Billing and Dispatch Information of that customers (OPTIONAL) refer to figure 2.30
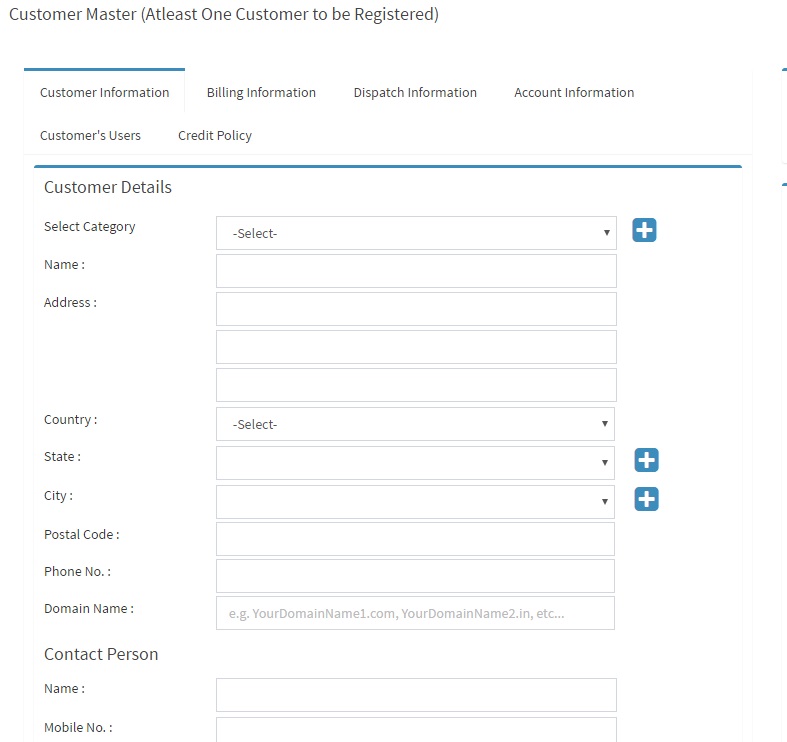
Fig. 2.30
After entering the customer details we get to see the screen as shown below refer to figure 2.31
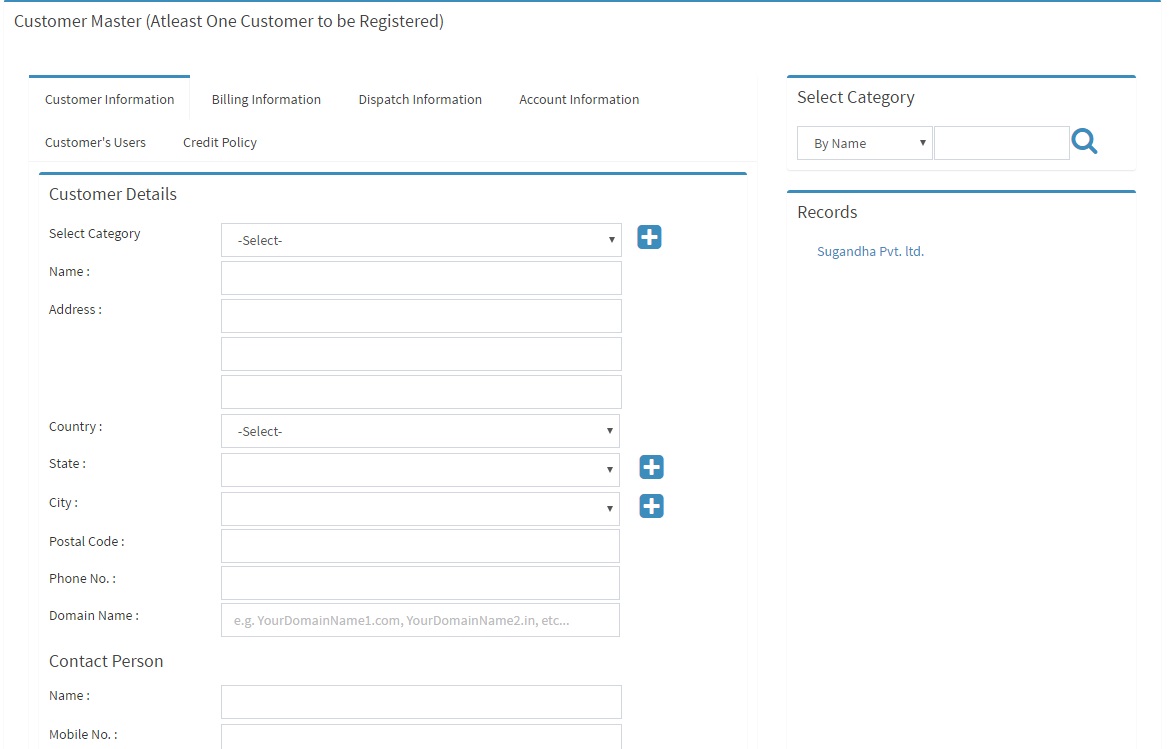
Fig. 2.31
Note that a company’s billing address and dispatch address can be different. Now we enter Billing Details refer to figure 2.32
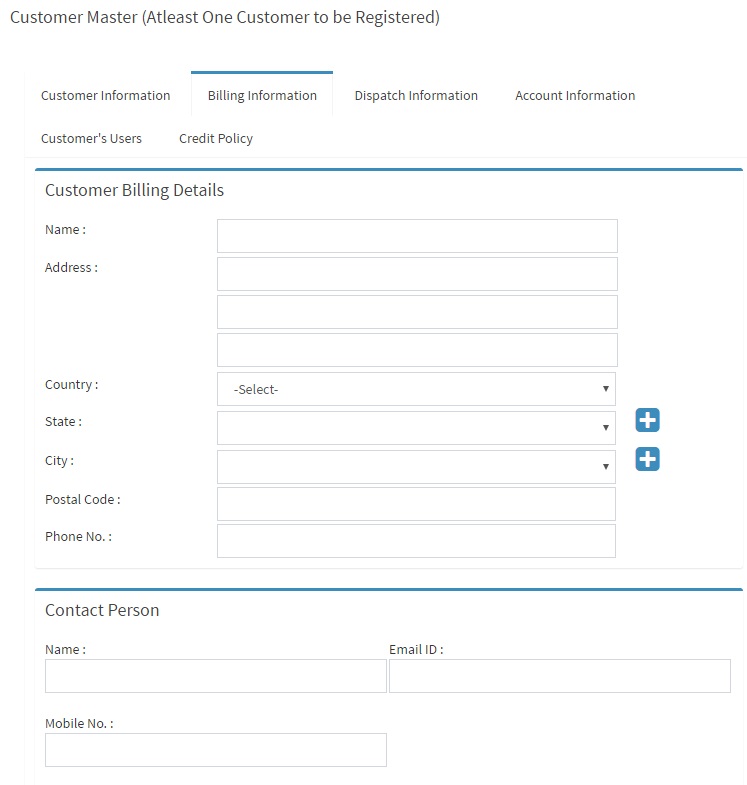
Fig. 2.32
After filling Billing Address details we get to see the data in a grid refer to figure 2.32 and figure 2.33
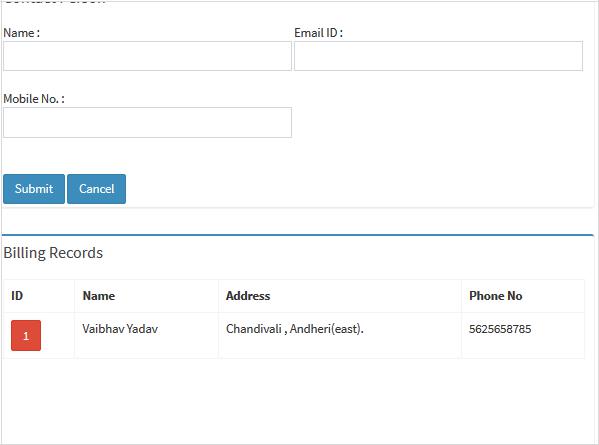
Fig. 2.33
Now you can add dispatch address also refer to figure 2.34
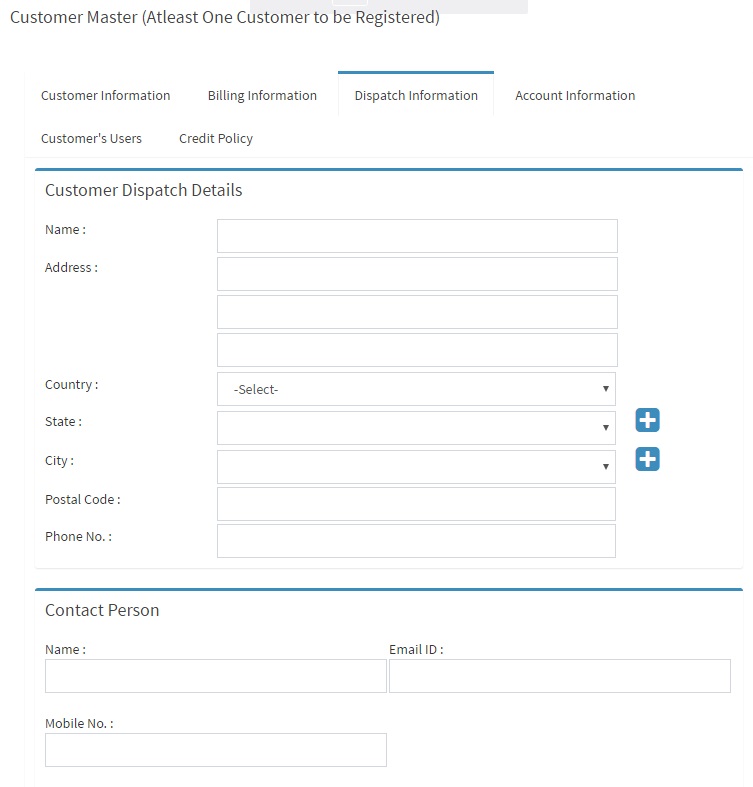
Fig. 2.34
After you finish with adding the customer , click next to proceed with the setup.
Here we have to enter Header and Footer Data for Quote refer to figure 2.35
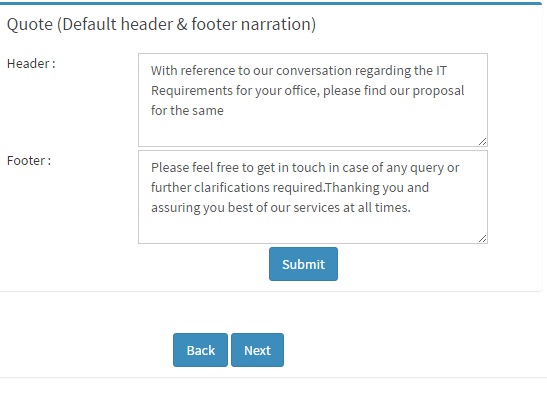
Fig. 2.35
After entering the data we get to see the screen as shown below. On clicking the Submit button a Popup appears. Click OK refer to figure 2.36 and figure 2.37
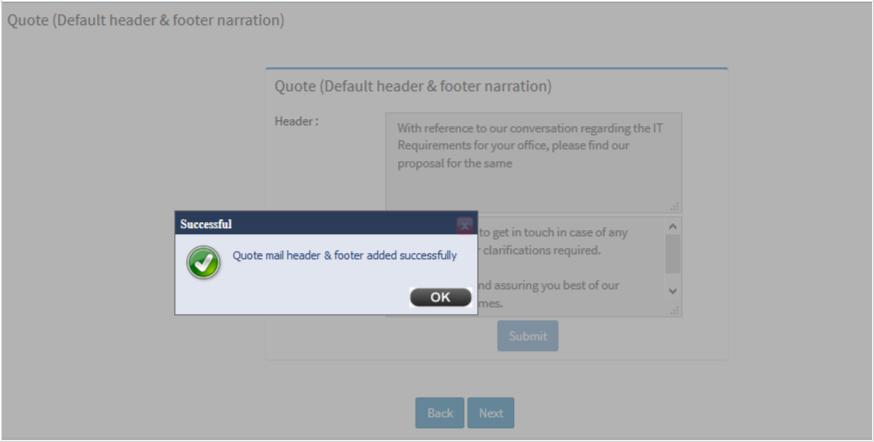
Fig. 2.36

Fig. 2.37
Now click OK button then Click Next button proceed with the setup.
We have to insert Image for letter Header and Footer.. This is used while sending Quotes to the customers.
Here after browse an image check the checkbox and then submit for all Sales/Invoice and Quote. This Header footer images for quote and sales/invoice is optional also you can skip and directly could go on next page on Next button event refer to figure 2.38
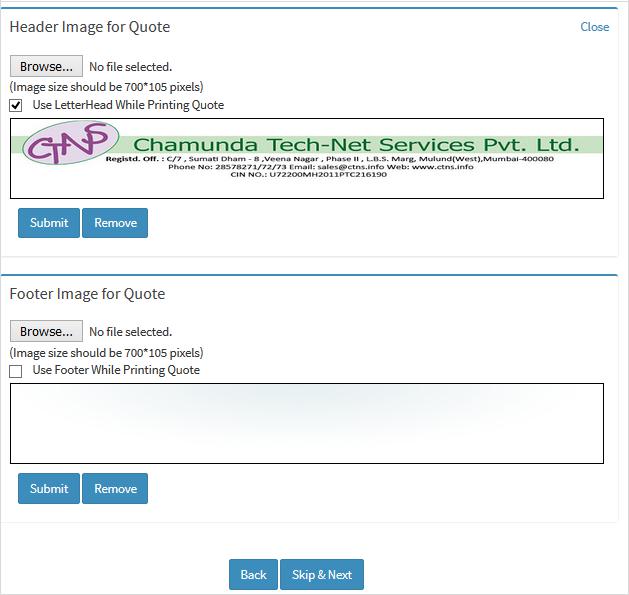
Fig. 2.38
Image for Header and Footer is inserted as shown below refer to figure 2.39

Fig. 2.39
You can remove the image by clicking Remove button. Click next to go to Header and Footer for Invoice .refer to figure 2.39
Here we insert image for Header and Footer for Invoice refer to figure 2.40 (Used for printing Invoice).
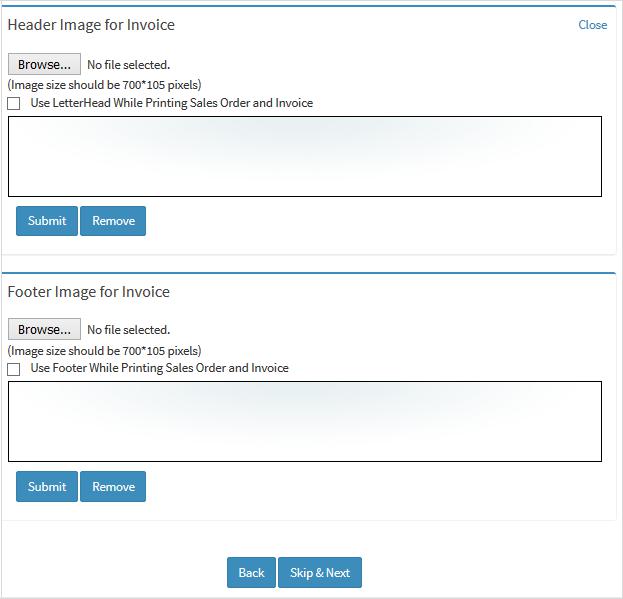
Fig. 2.40
On inserting image we get to see screen as shown below refer to figure 2.41
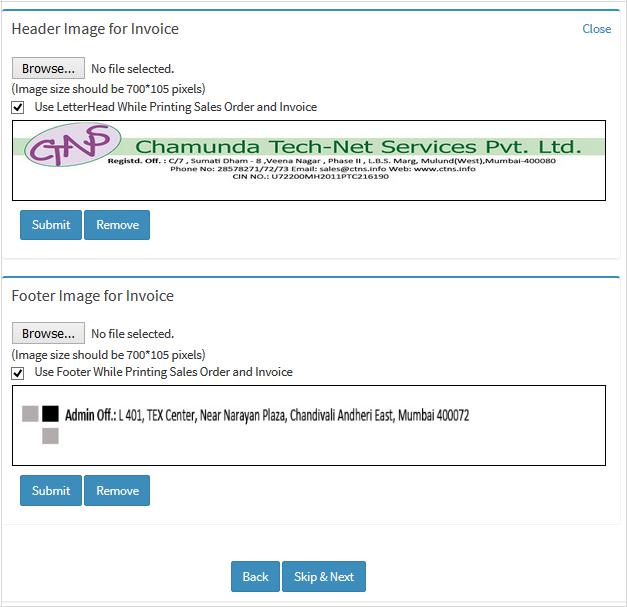
Fig. 2.41
After adding the Header footer Images click on NEXT to proceed setup.
Here we insert image for Header and Footer for Invoice refer to figure 2.40 (Used for printing Invoice).
Fig. 2.40
On inserting image we get to see screen as shown below refer to figure 2.41
Fig. 2.41
After adding the Header footer Images click on NEXT to proceed setup.