Step 1:
1. Go to www.cventure.in and login with your username and password.. or register your organization and get a username and password.. Go to download section and Download the ZIP.
2. Ensure that drive has enough space. Unzip the folder to the drive, You will find Folder C-Venture.
3. Note Down your License Key after the registration.
1. Go to your IIS manager.
2. Right clik on the site where you want to install C-Venture Select ‘Deploy’ > ‘Import application’
refer to figure 1.1
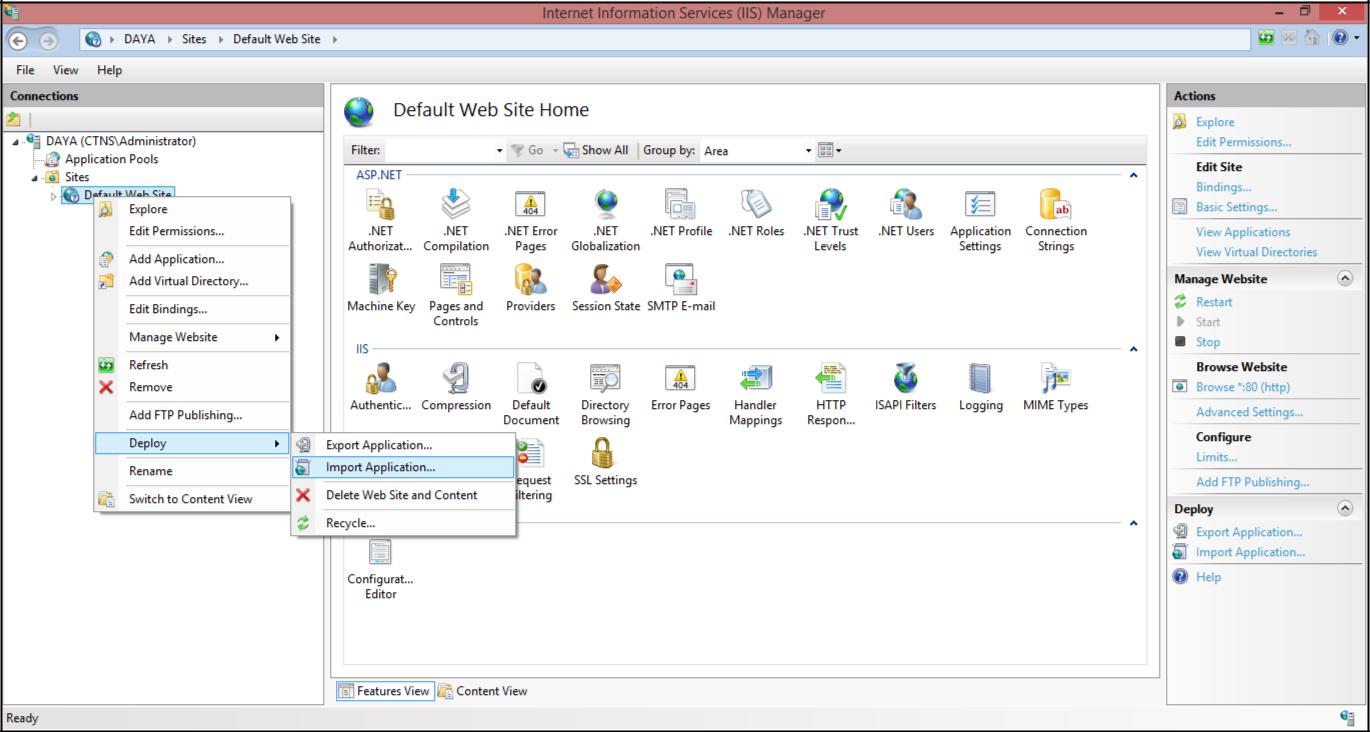
Fig. 1.1
3. The Import Application Package wizard opens and shows the Select the Package dialog box.
4. In the Package path box, Browse and select your.zip file from the location where you downloaded. Refer Fig 1.2
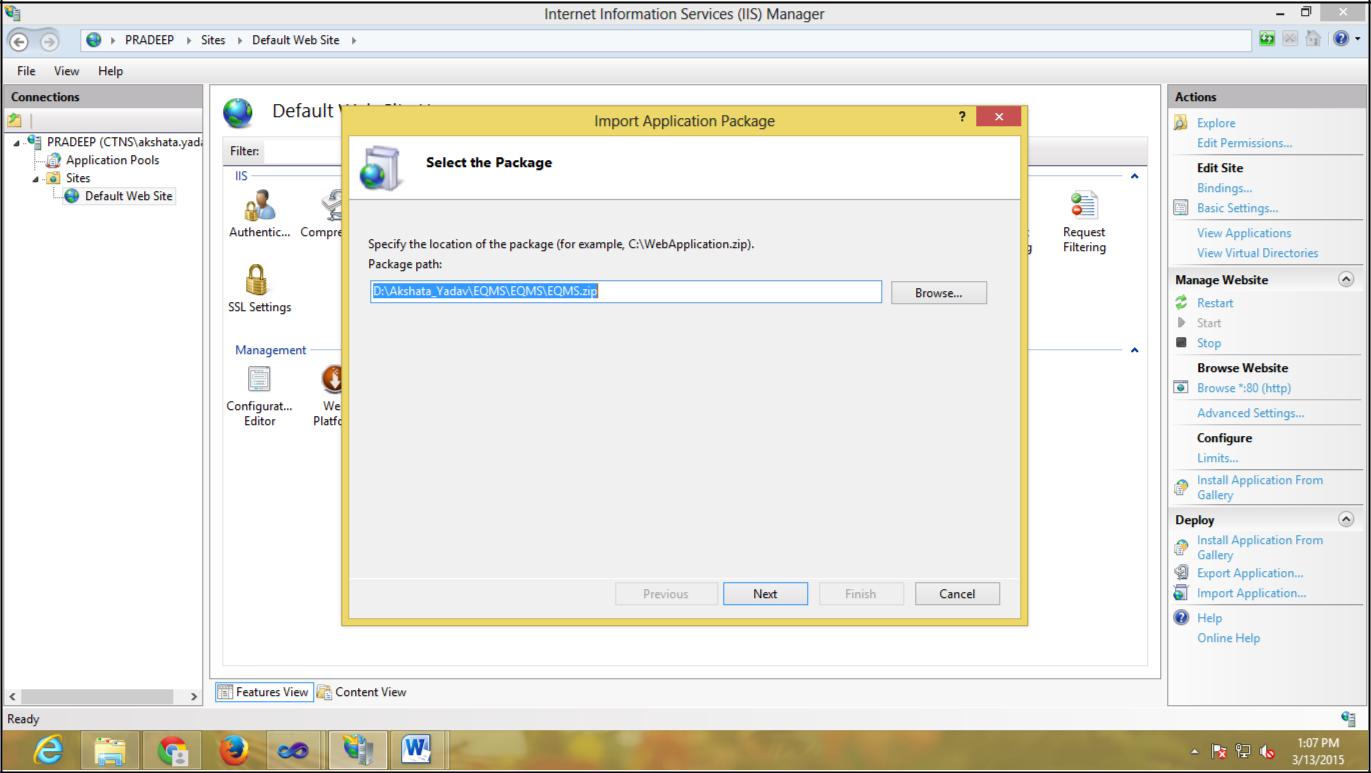
Fig. 1.2
5. Click Next.
6. Go to advance settings and Update “Include ACLs” to true. Refer figure 1.3 and figure 1.4
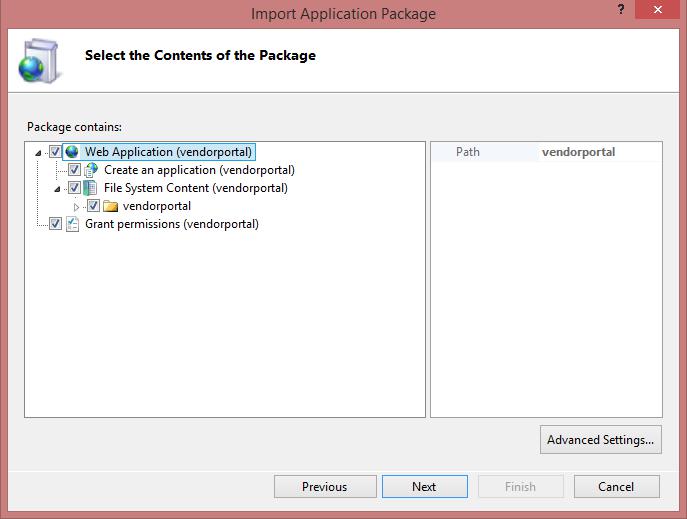
Fig. 1.3
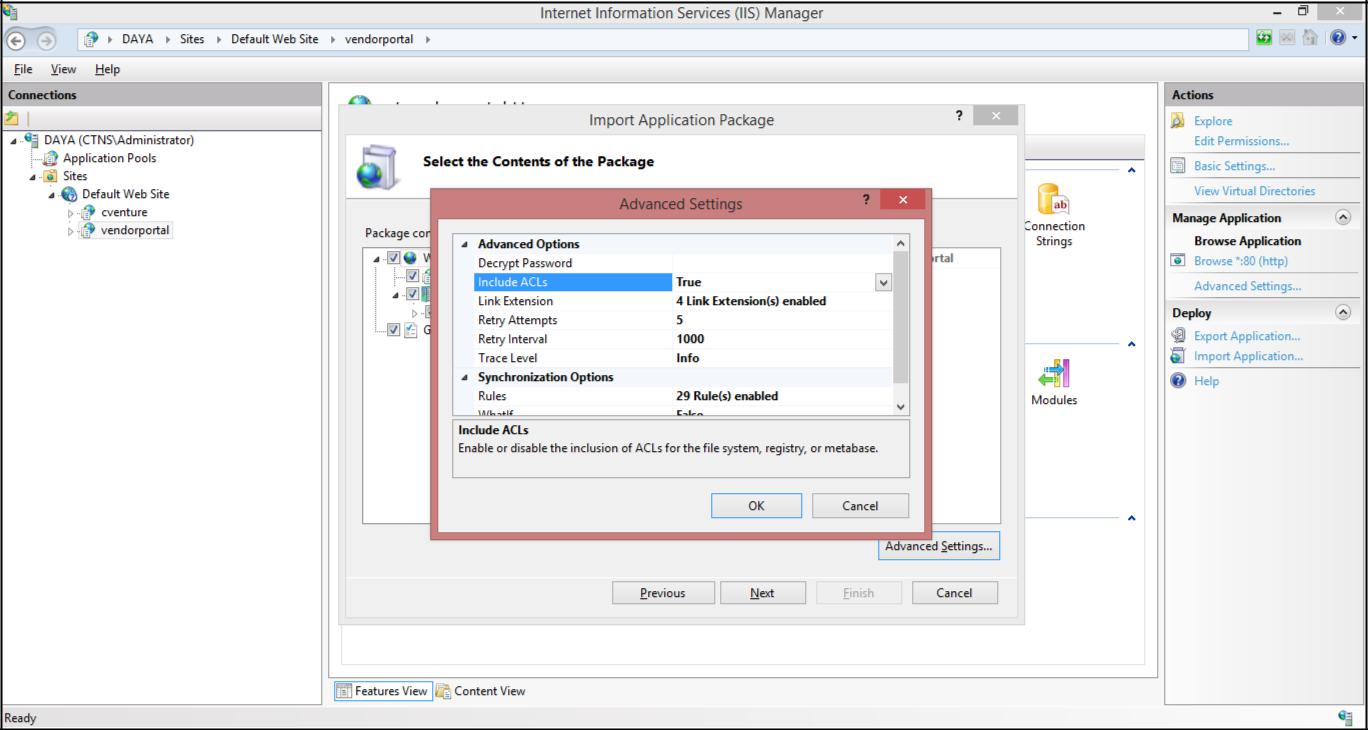
Fig. 1.4
7. Click Next.
8. The Enter Application Package Information dialog box is displayed as shown in the following illustration refer to figure 1.5

Fig. 1.5
9. While Web Deploy installs the package, the Installation Progress and Summary dialog box is displayed. The dialog box shows a progress bar during the installation process. If you were upgrading CVENTURE, When the process is complete, it may ask you to overwrite existing files. Further the dialog box shows a log of what was done. Refer to figure 1.6
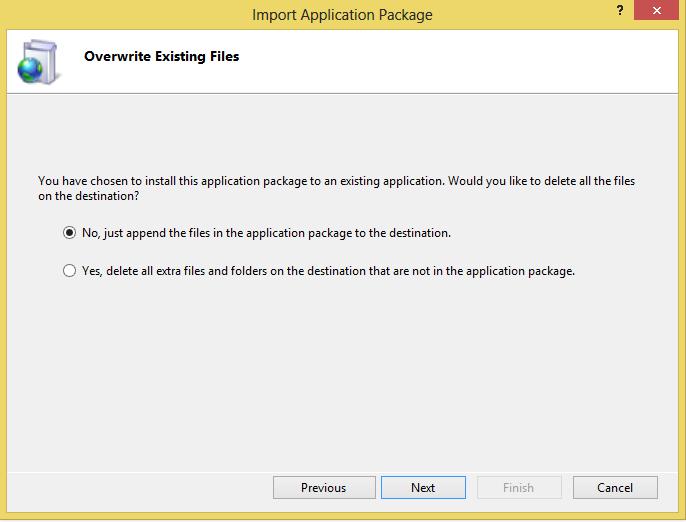
Fig. 1.6
10. Right click the application C-Venture installed and browse refer to figure 1.7 and figure 1.8

Fig. 1.7
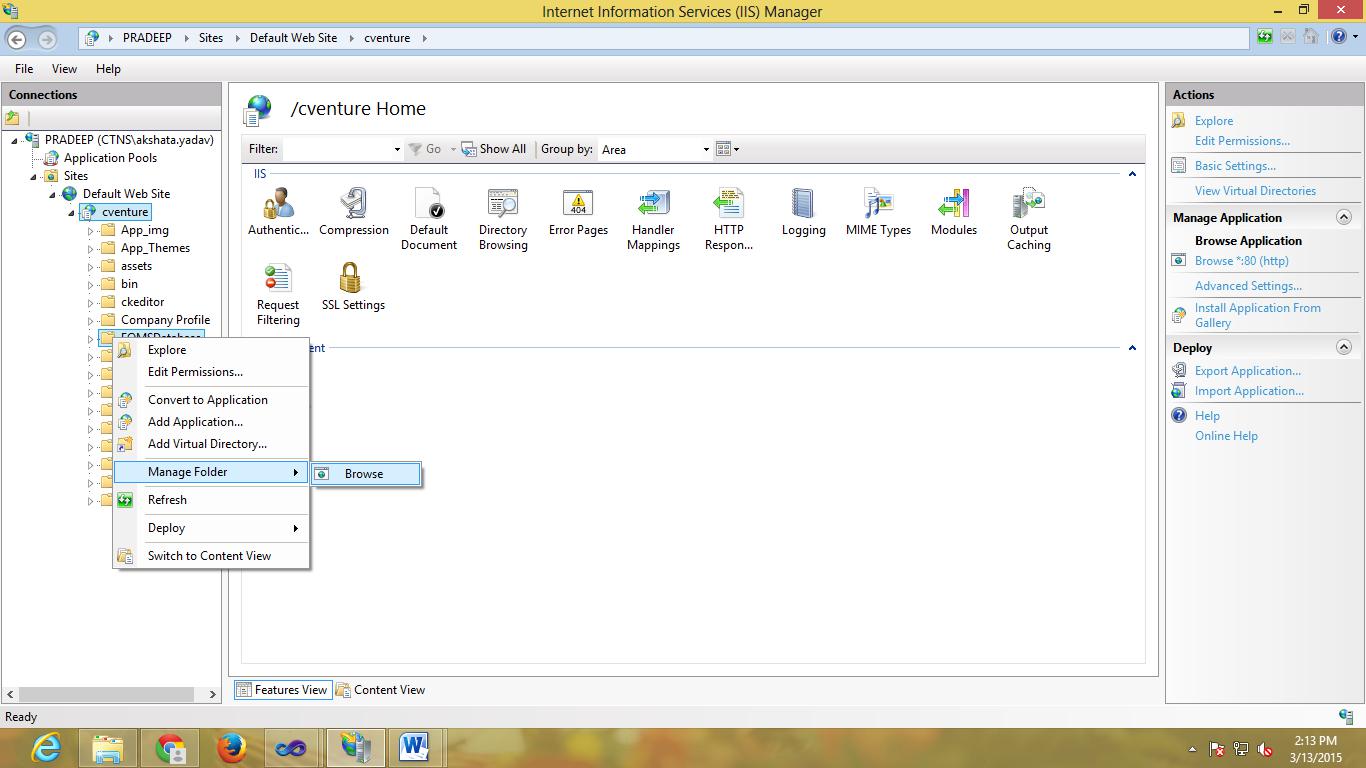
Fig. 1.8
You should get the page saying database not available since no database is yet configured. So go to service.aspx page manually from the URL. Refer ‘Creating and Configuring the database’ section to proceed with deployment.