Right click C-Venture site and browse refer to figure 1.24
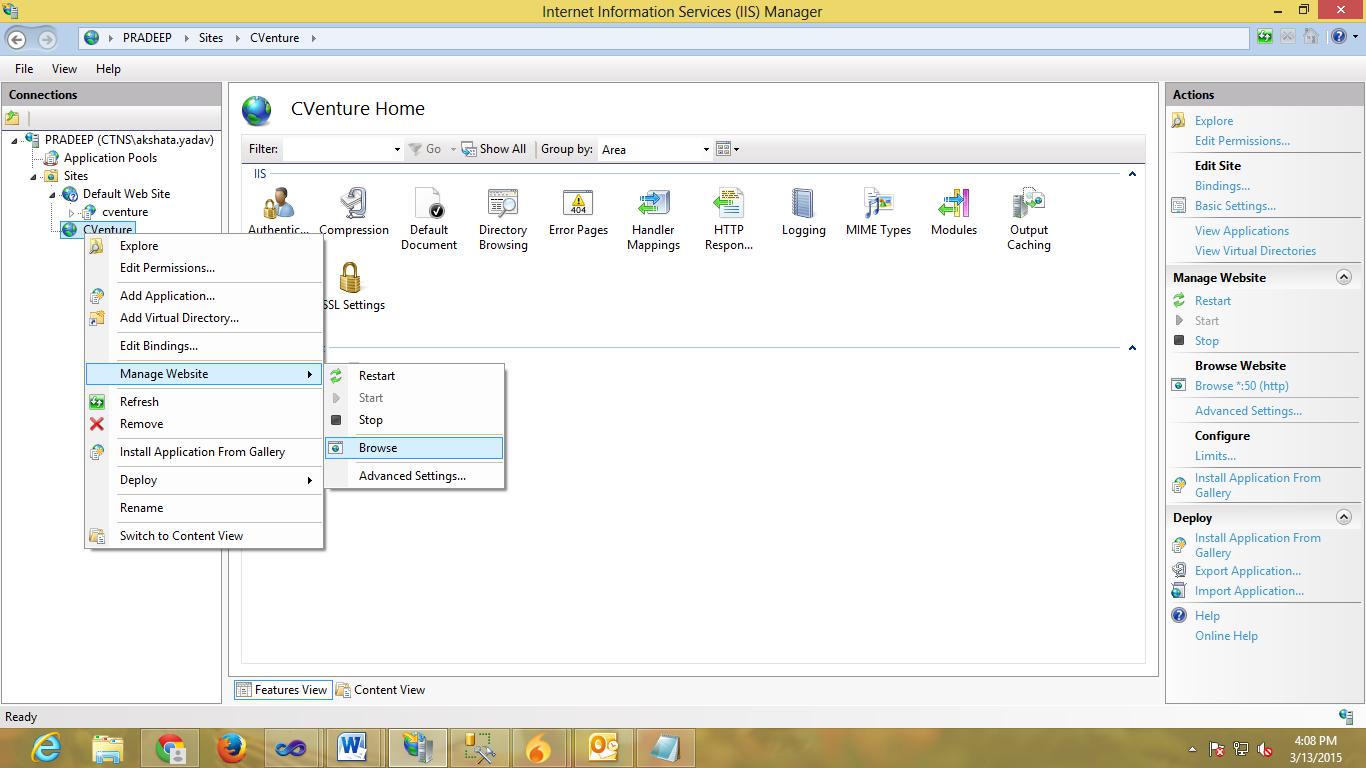
Fig. 1.24
You should get the page saying “database not present“ for new installation since no database is yet configured. So go to ‘checkstatuseqms.aspx’ page manually from the URL. So go to http://yourCV_URL/checkstatuseqms.aspx refer to figure 1.25

Fig. 1.25
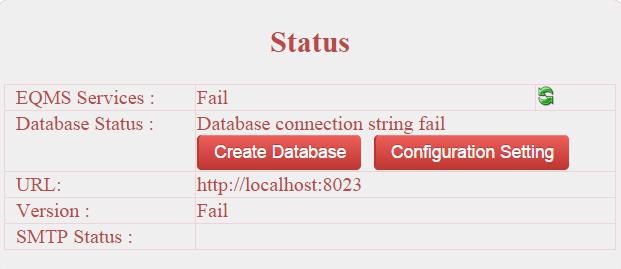
Fig. 1.26
Click Create Database refer to figure 1.26 and figure 1.27
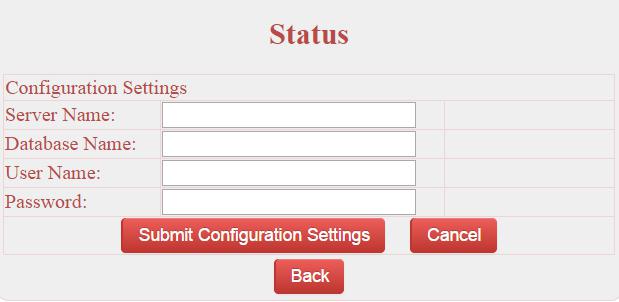
Fig. 1.27
Provide details of the SQL server and provide the preferred name of the database. And submit configuration settings refer to figure 1.28
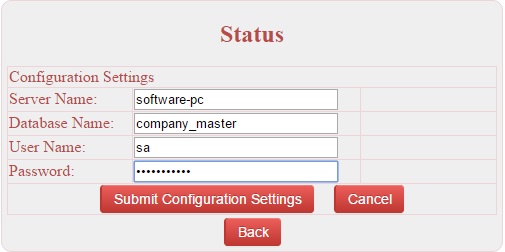
Fig. 1.28
Click on Submit Configuration Settings refer to figure 1.28 and then you will see the create database button click on create database to create master database refer to figure 1.29
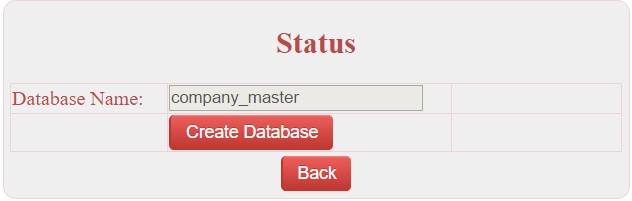
Fig. 1.29
After successful creation of database you should get service status page as shown in figure 1.30
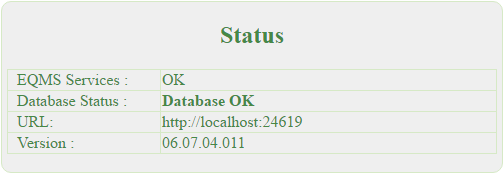
Fig. 1.30